Codetricks
Scientific plotting with python: jupyter notebooks
Installation
Install the jupyter extension
To follow the programming tutorials you need to setup a programming environment which I describe in the next section:
How to setup programming environment on windows and linux
linux Debian, Ubuntu
use apt packet manager
osx
install homebrew
/bin/bash -c "$(curl -fsSL https://raw.githubusercontent.com/Homebrew/install/HEAD/install.sh)"
windows
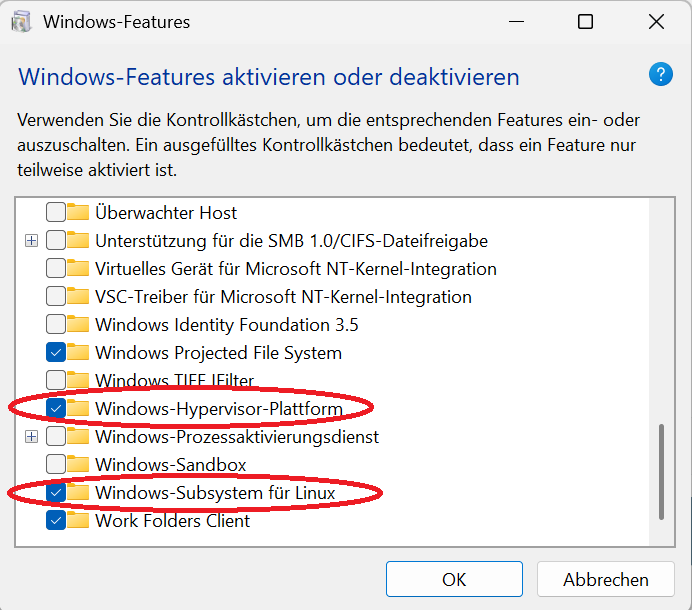
Press CTRL+R and type: OptionalFeatures.exe
and select Windows-Hypervisor-Platform and WIndows-Subsystem for Linux:
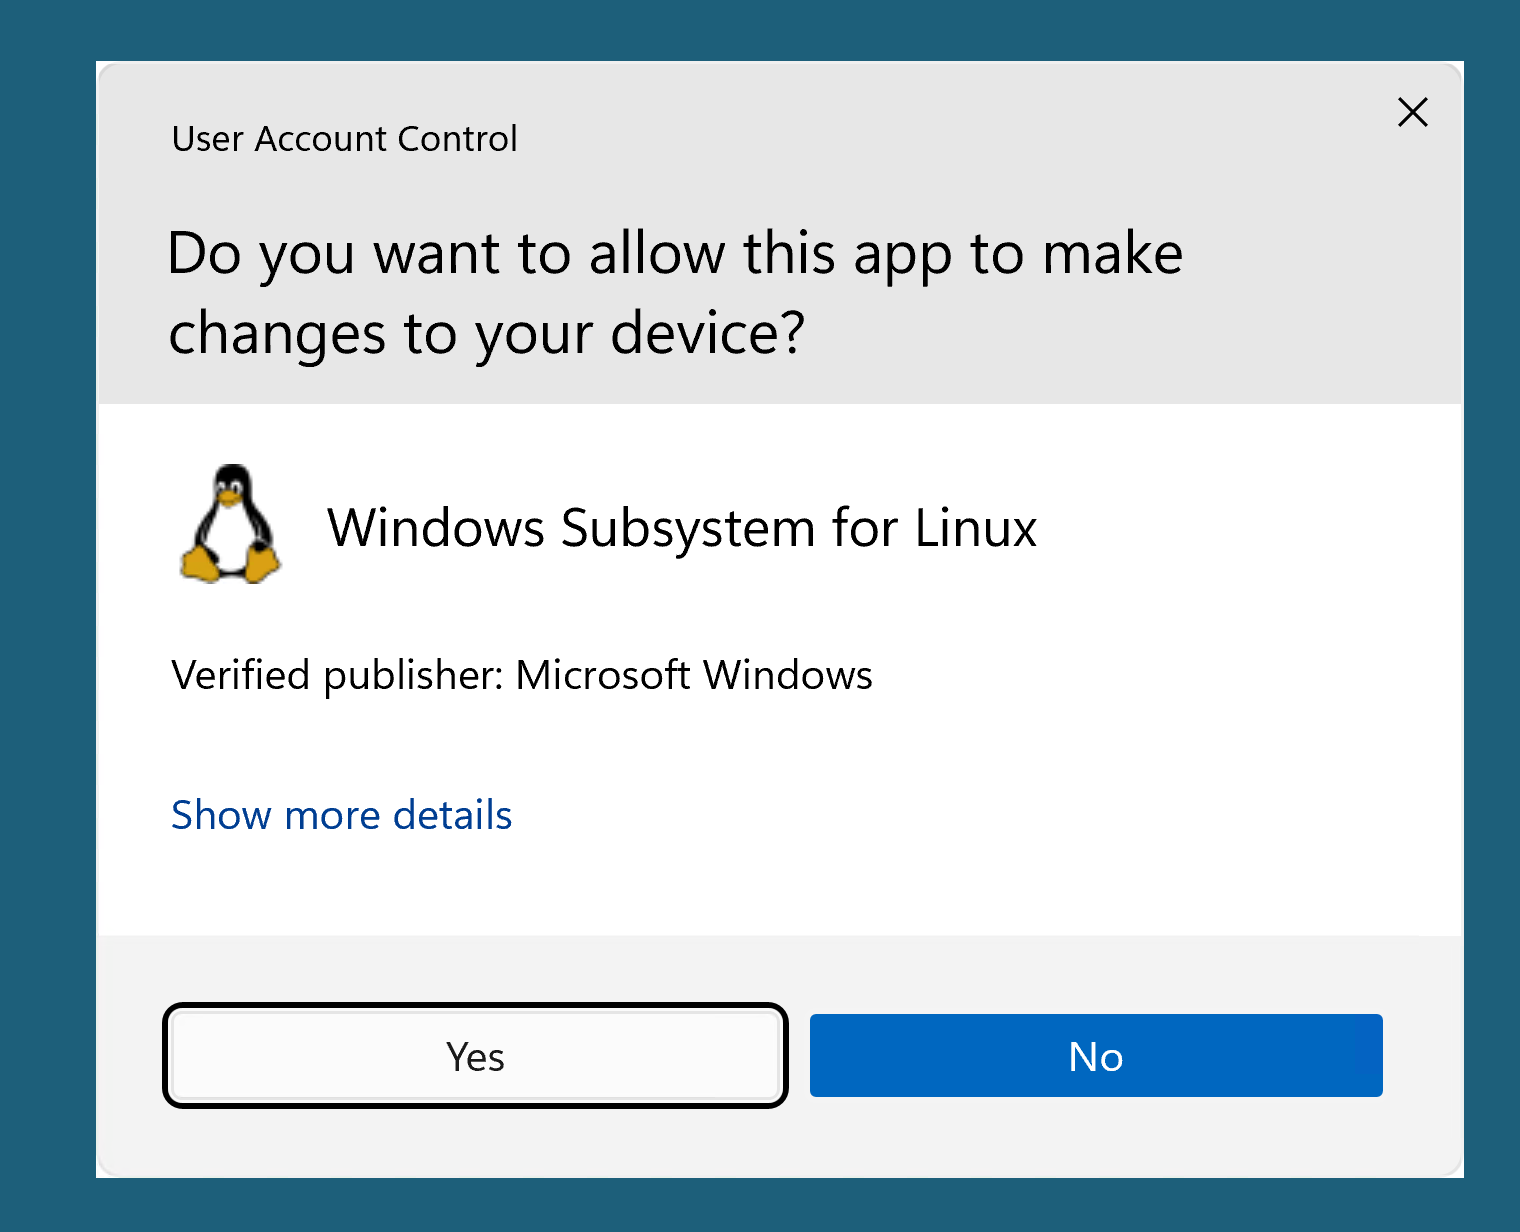
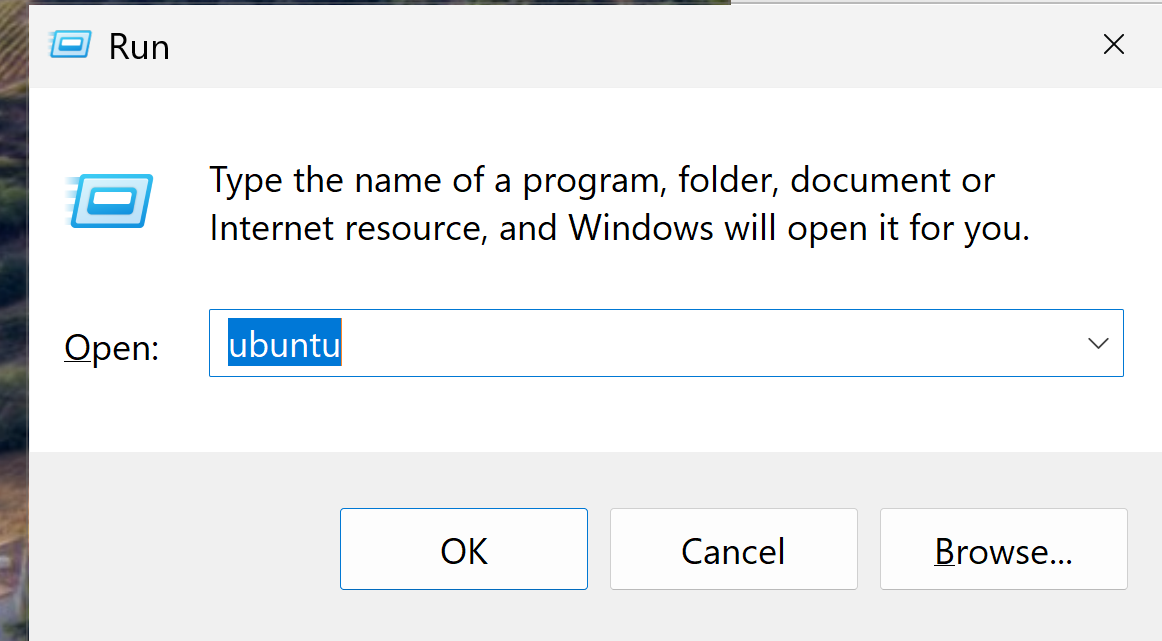
Press CTRL+R and type: cmd
wsl --install
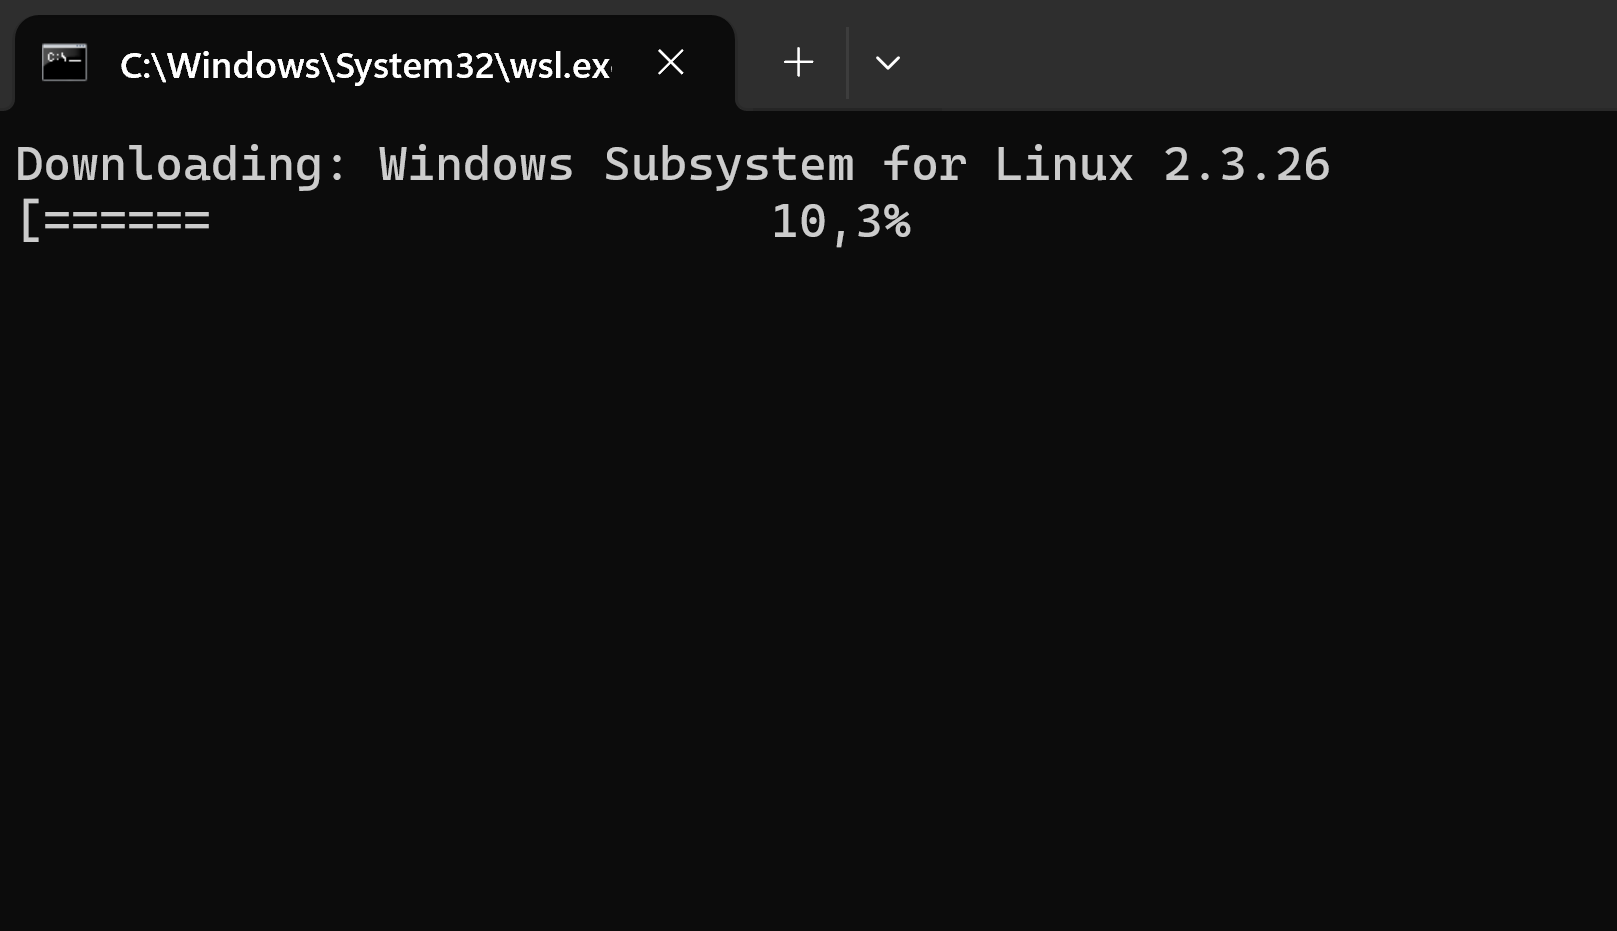
finished:
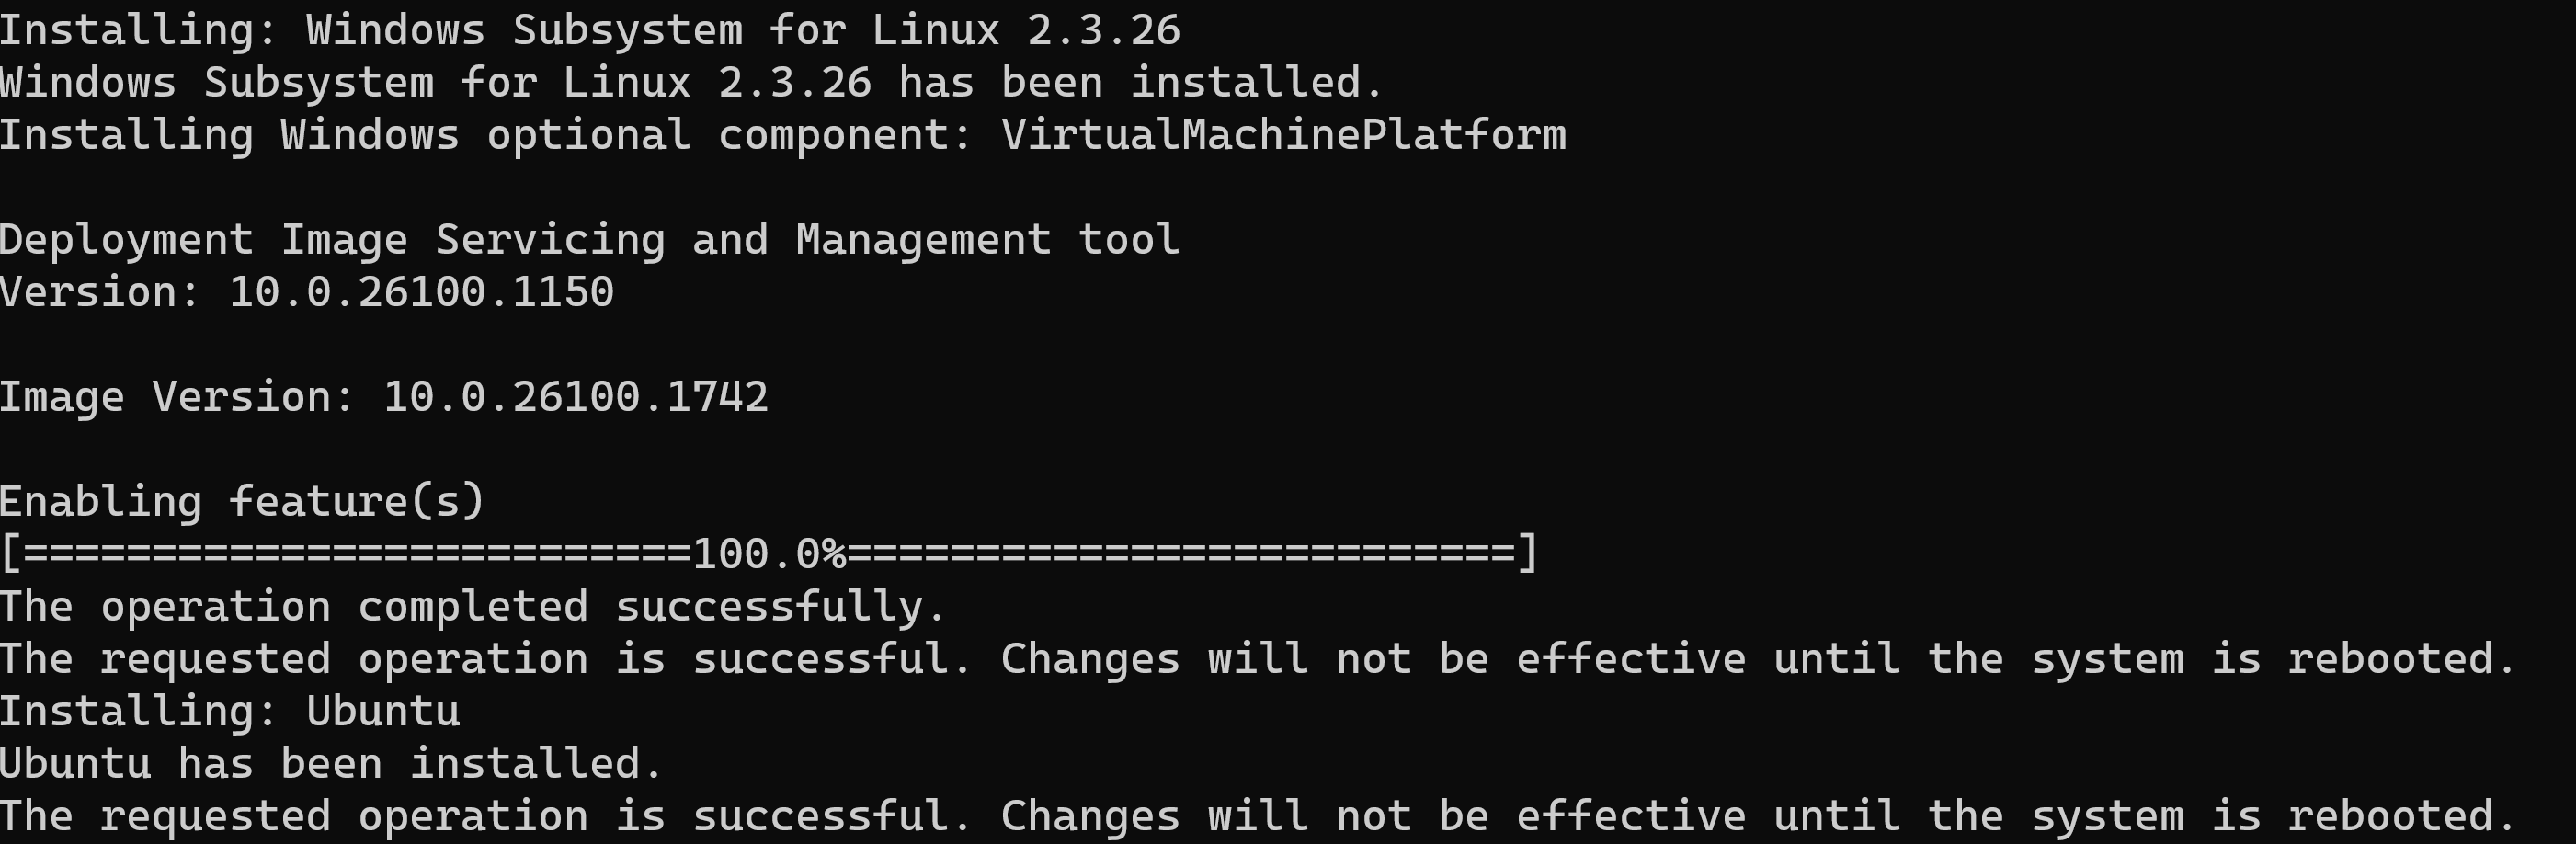
reboot
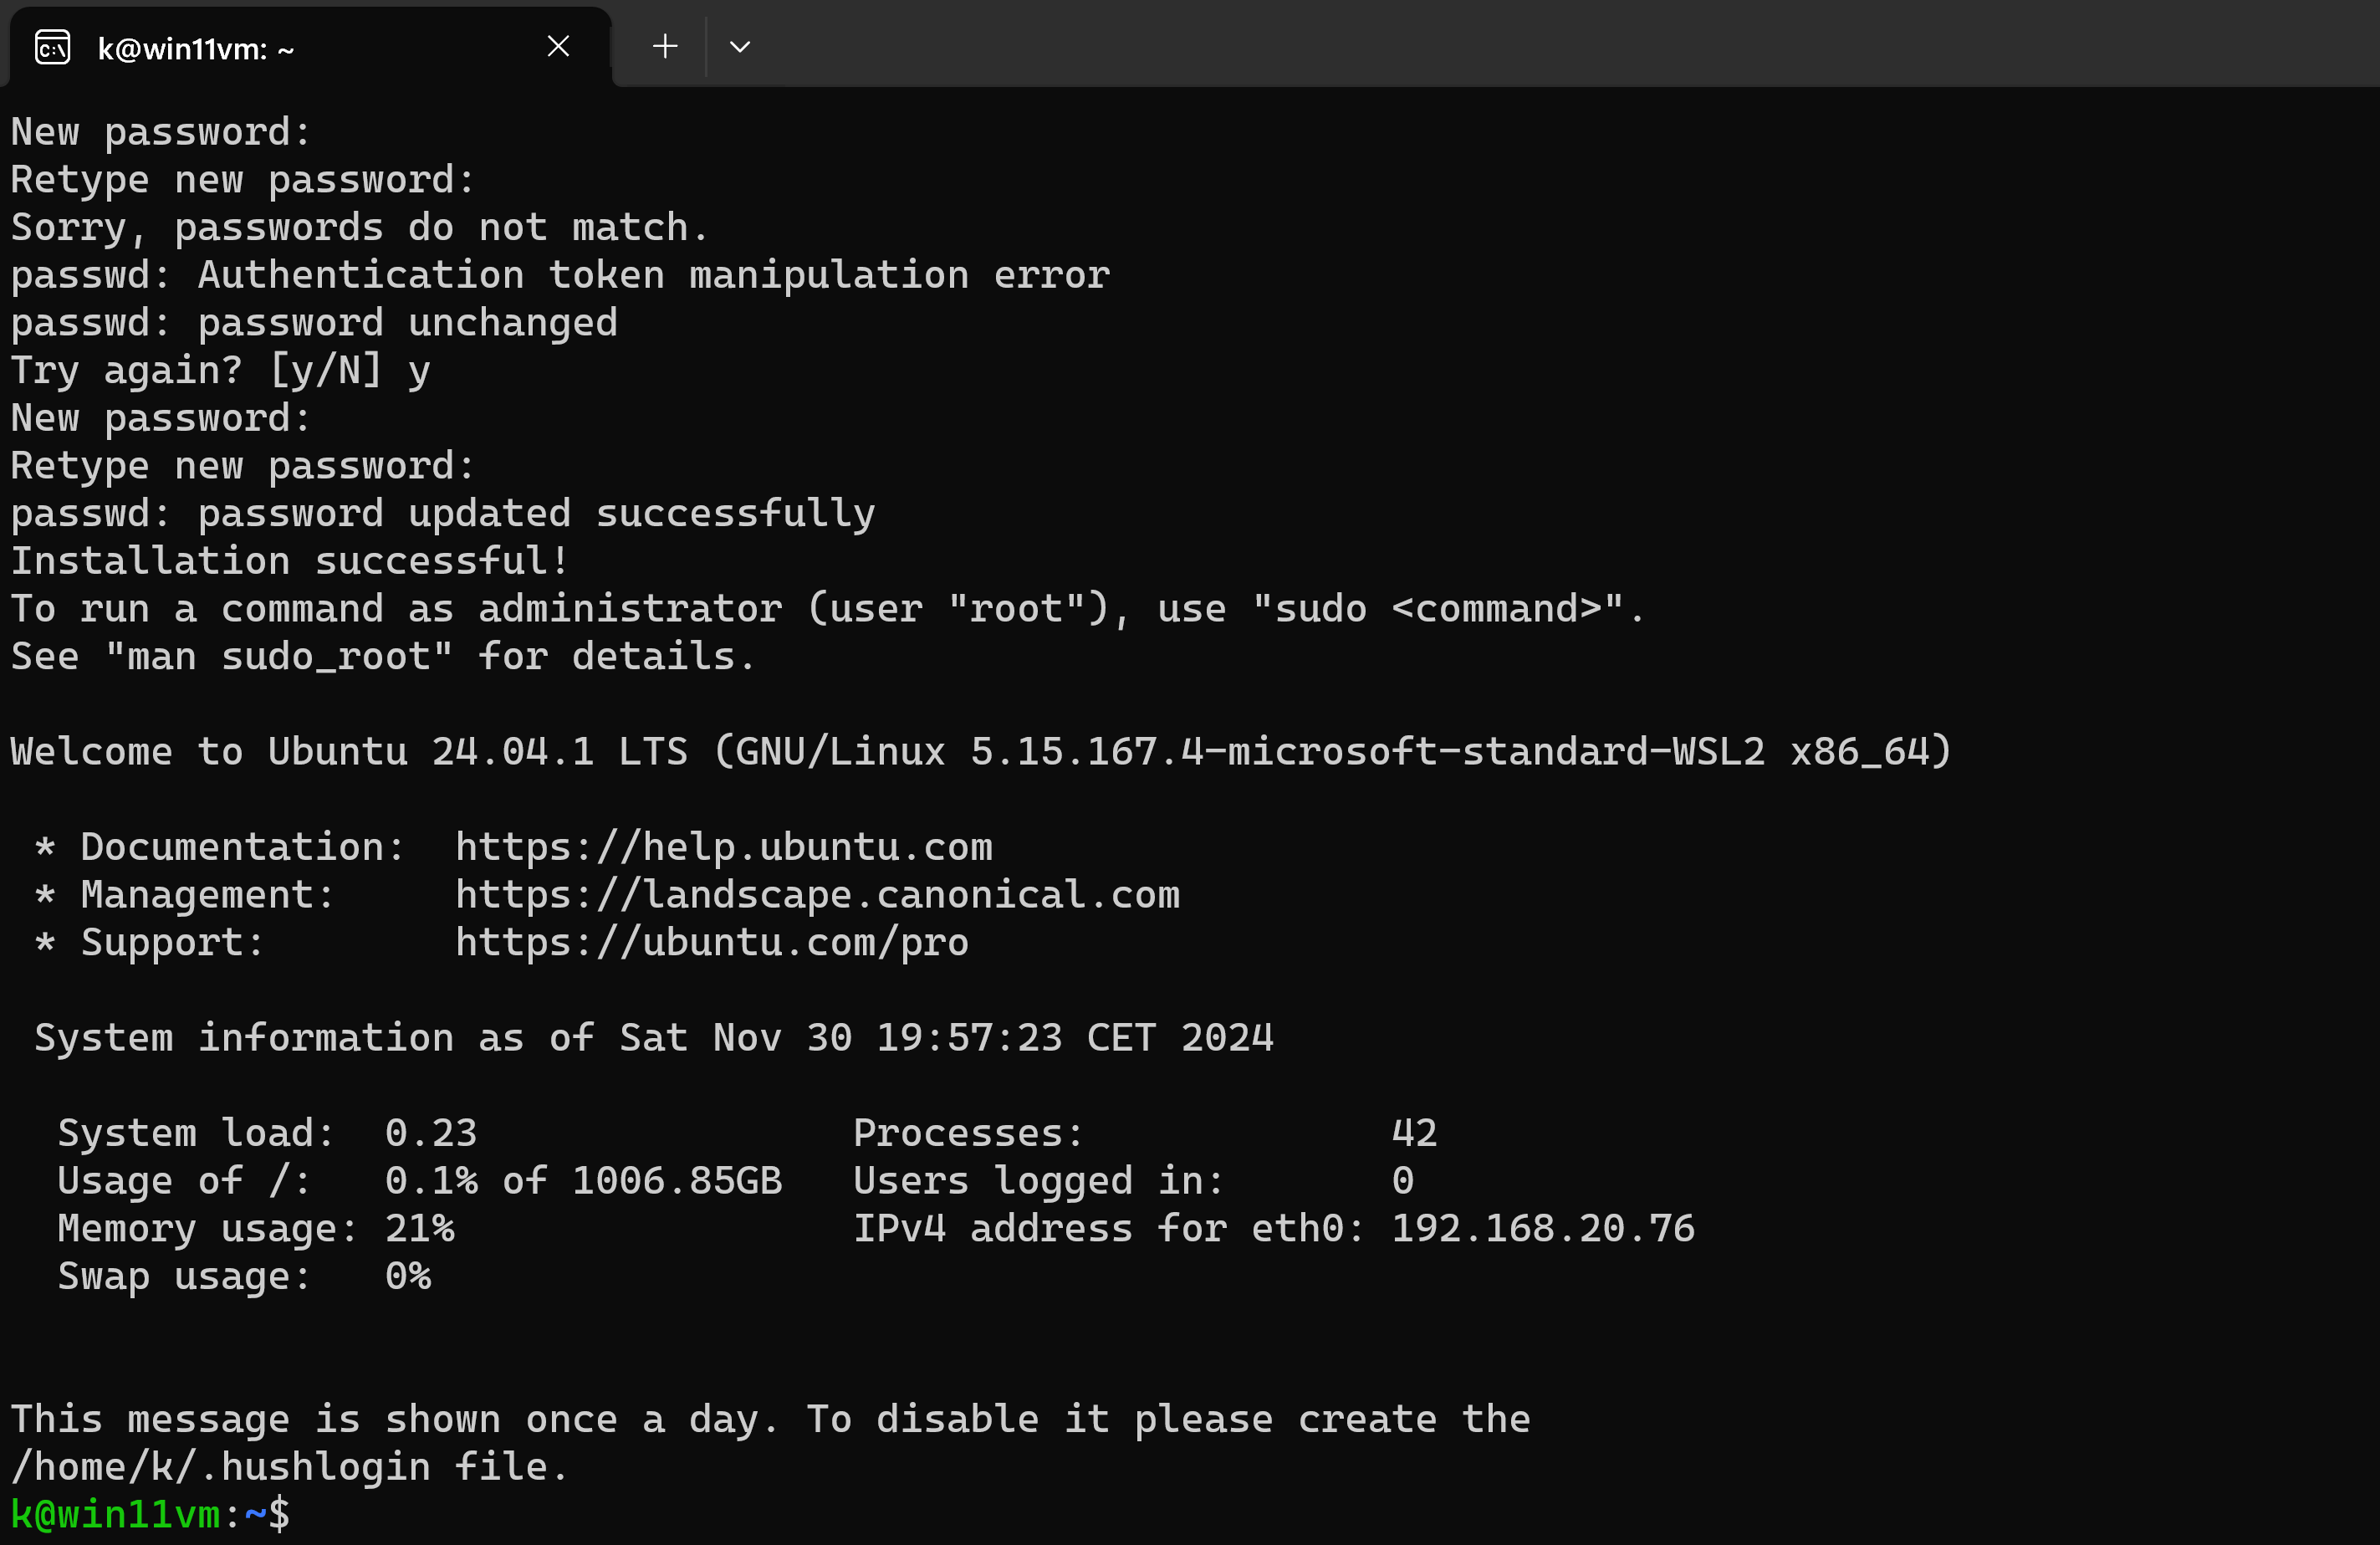
CTRL+s ubuntu
then it will install some stuff and ask for username and password (you can choose freely):

then you can start using a linux shell
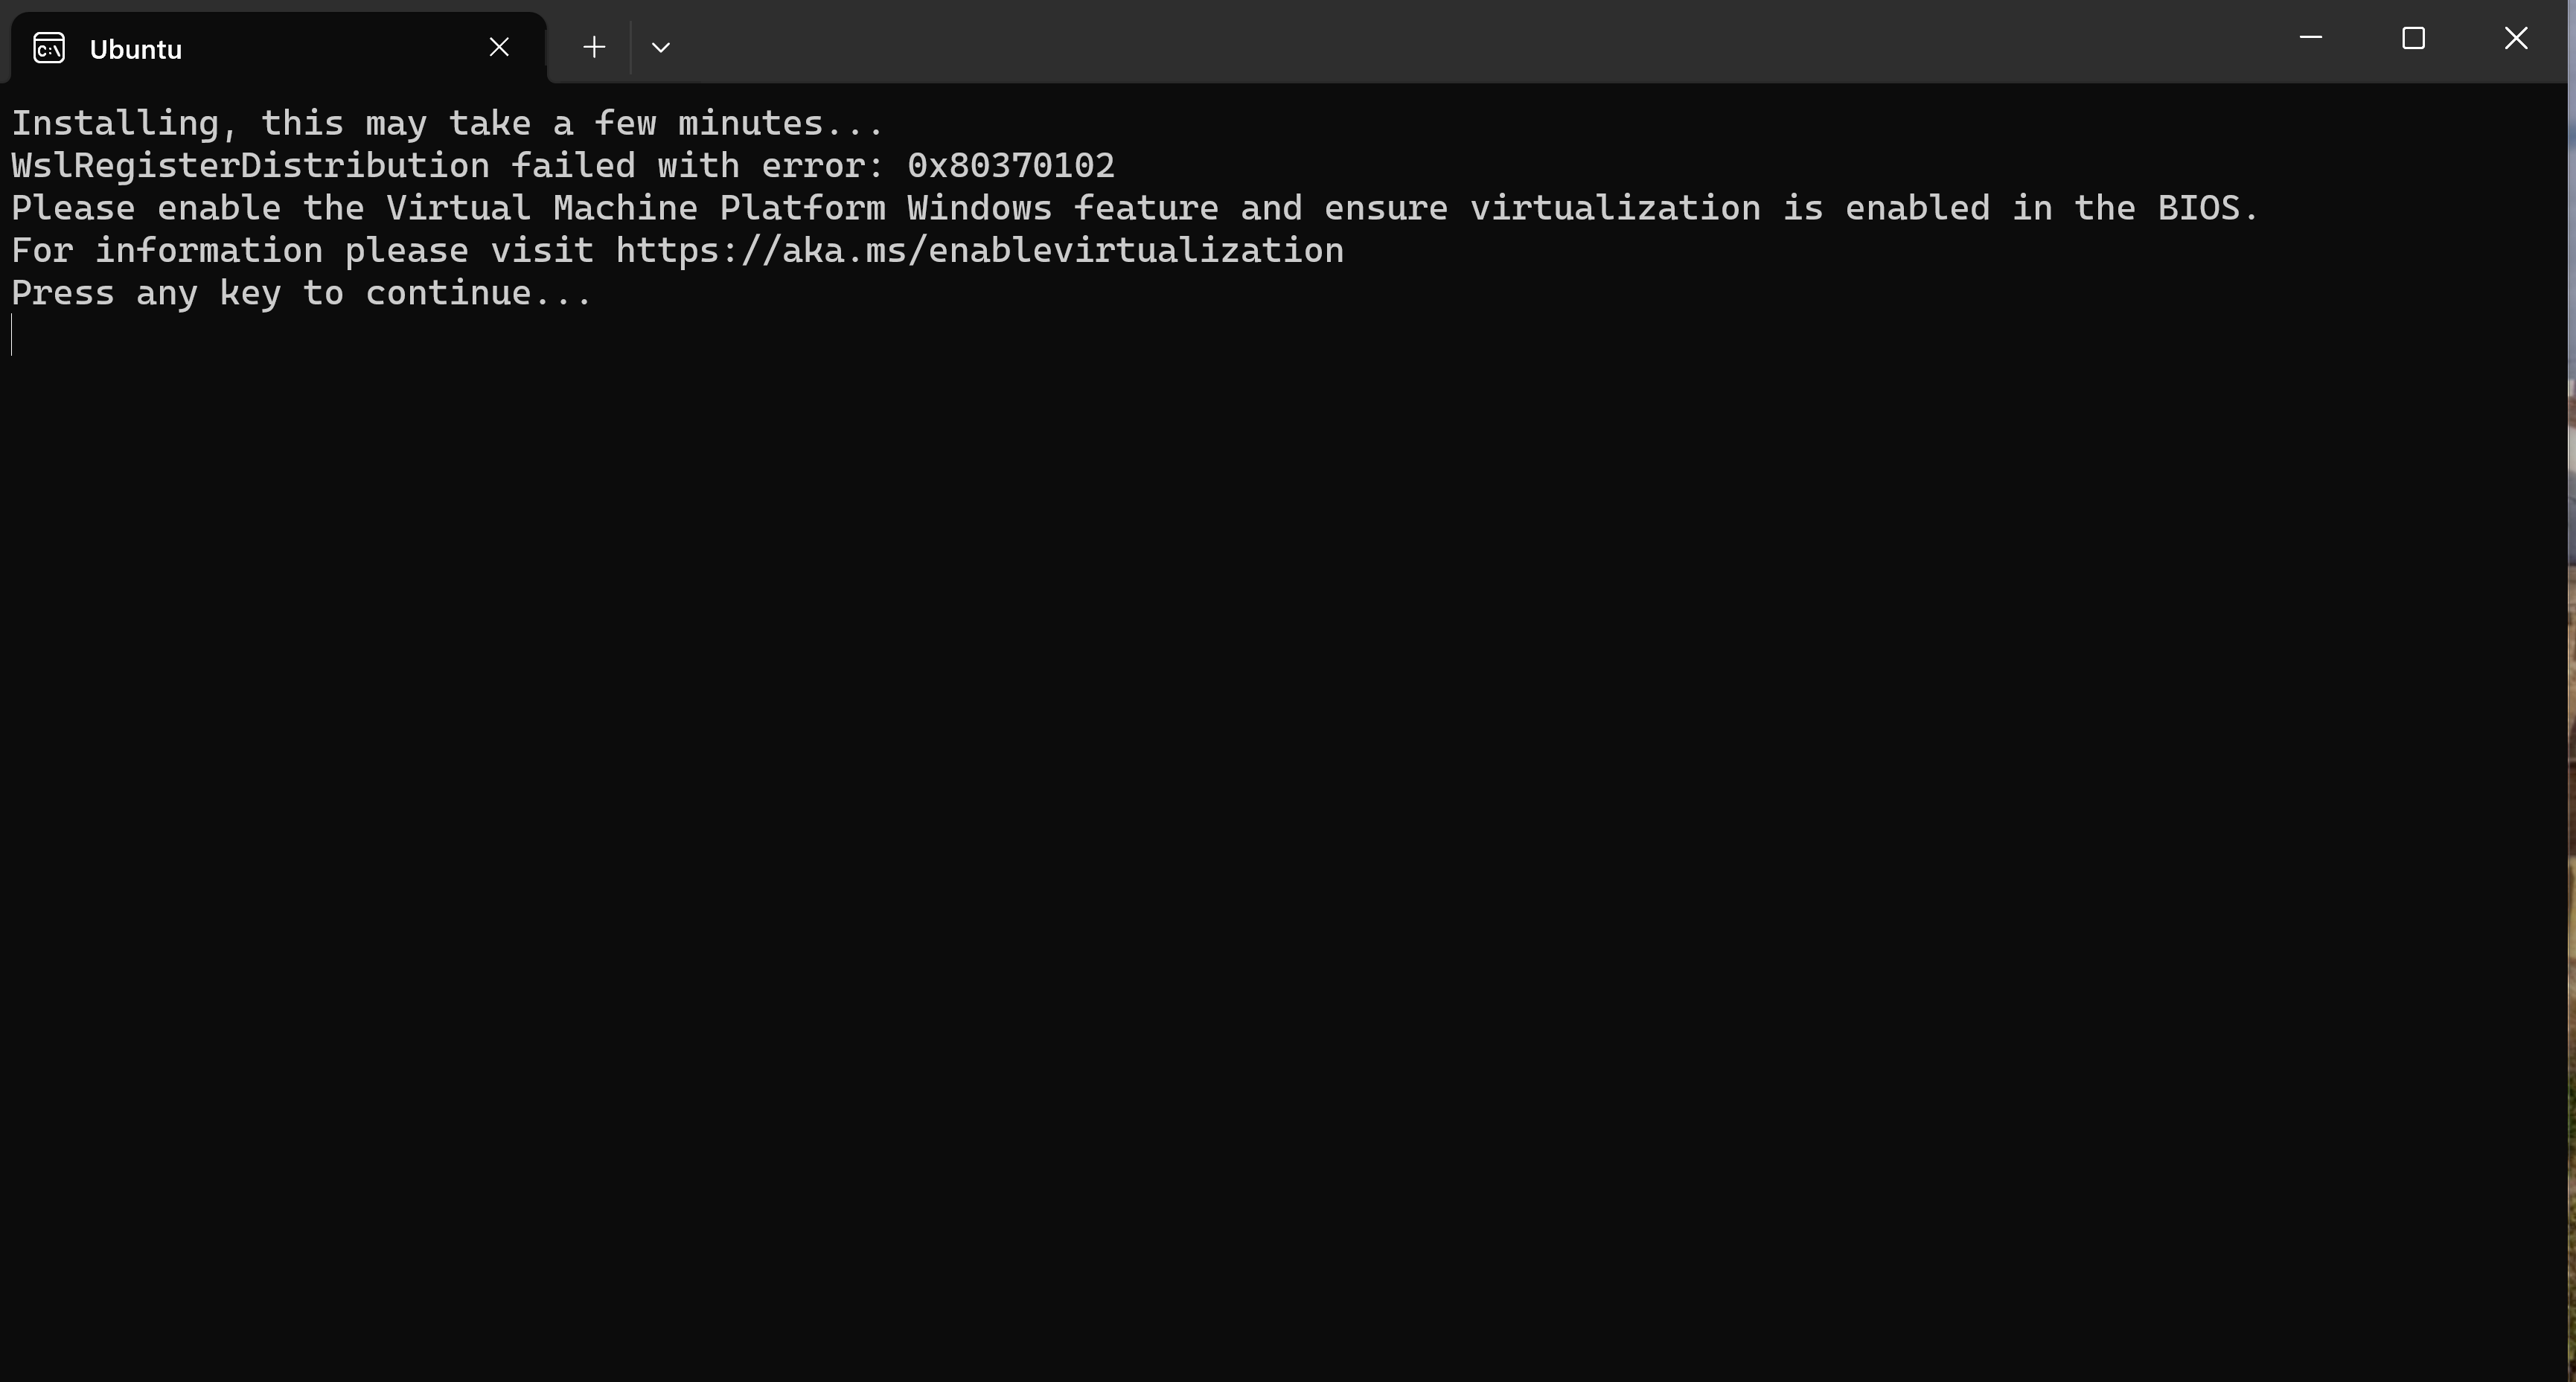
you need to activate virtualization in bios when you get:
Only for experts if you want to run wsl inside a hyper-v virtual machine machine under windows: Only in this case you must run an administrative powershell on the host machine and execute Set-VMProcessor -VMName <VMName> -ExposeVirtualizationExtensions $false
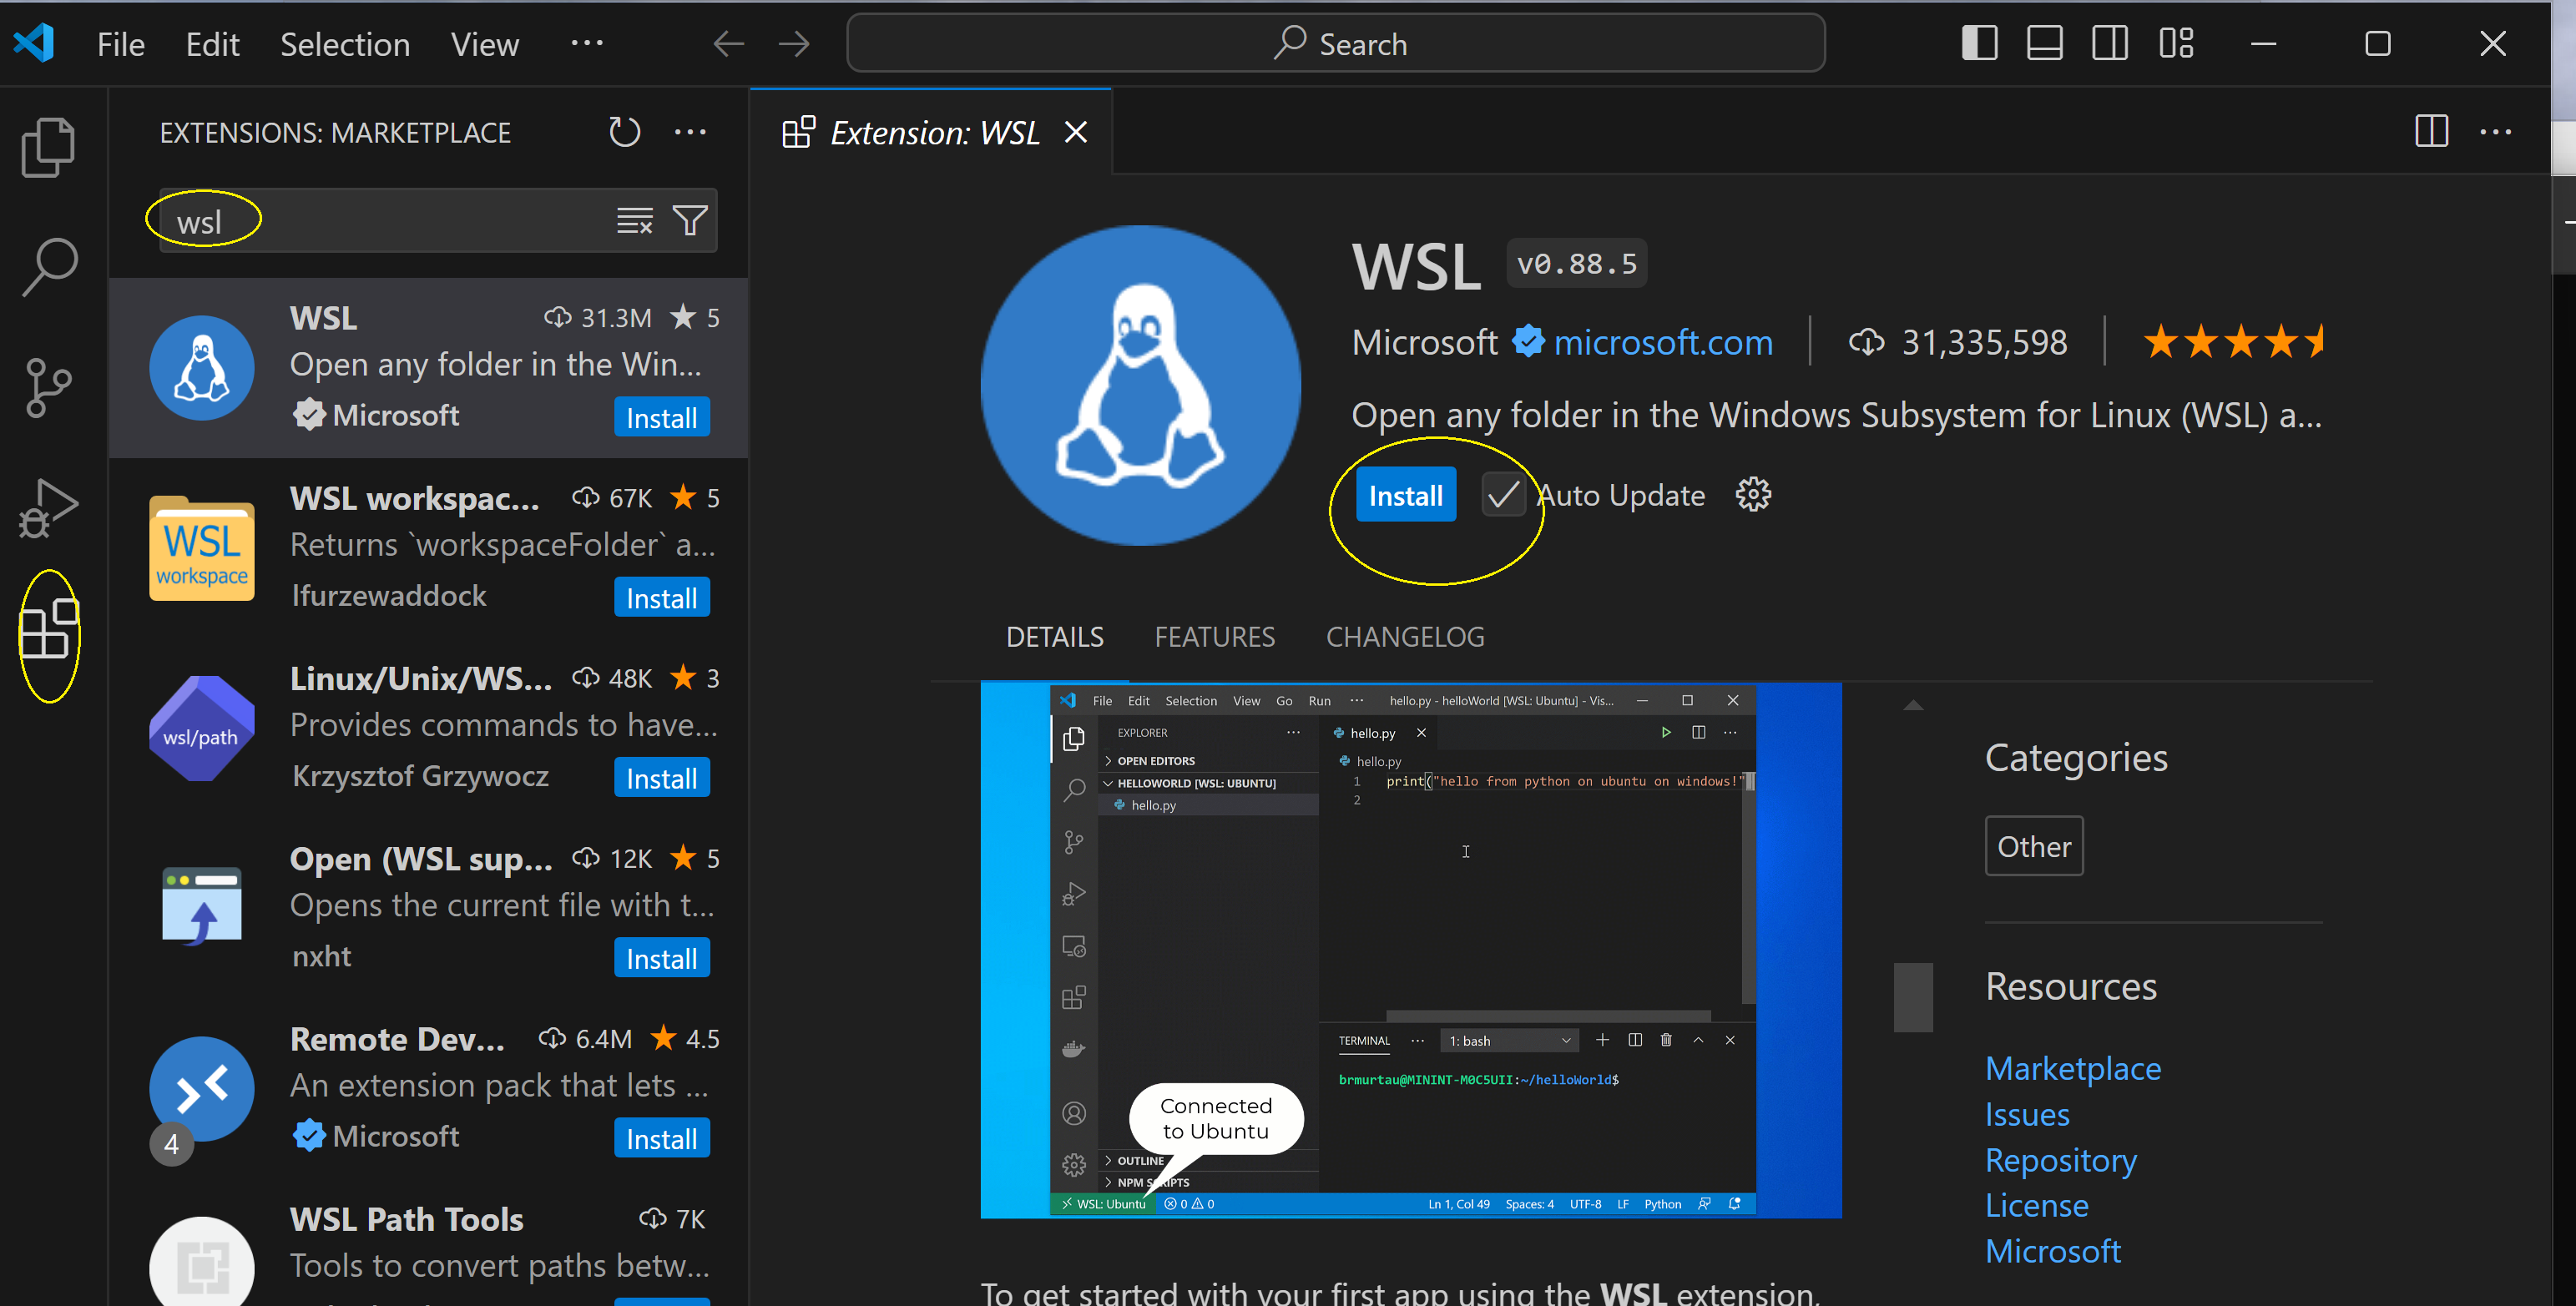
Install vscode ws-extension (only for windows)
run vs-code and install wsl-extension if you run it in windows:

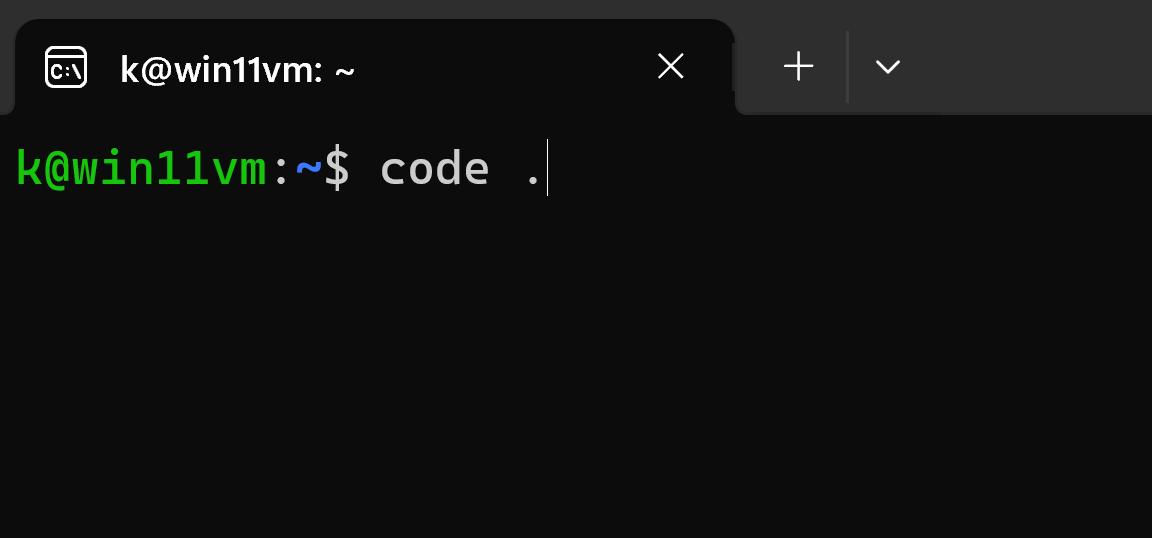
Note for WSL: If you want to access e.g. your codetricks folder inside your Downloads folder and your username is einstein ) (c:\Users\einstein\Downloads\codetricks) from wsl you need to type:
cd /mnt/c/Users/einstein/Downloads/codetricks
code .
Note that the backslash (\) is changed int a slash (/)
open terminal and change directory into the helloworld folder
go into the directory:
cd helloworld
now you can just run:
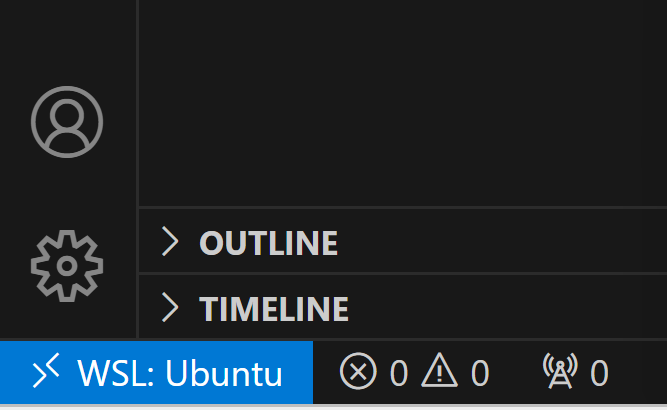
if you run it in windows it should open vs-code on the host and show that it is connected to your ubuntu:
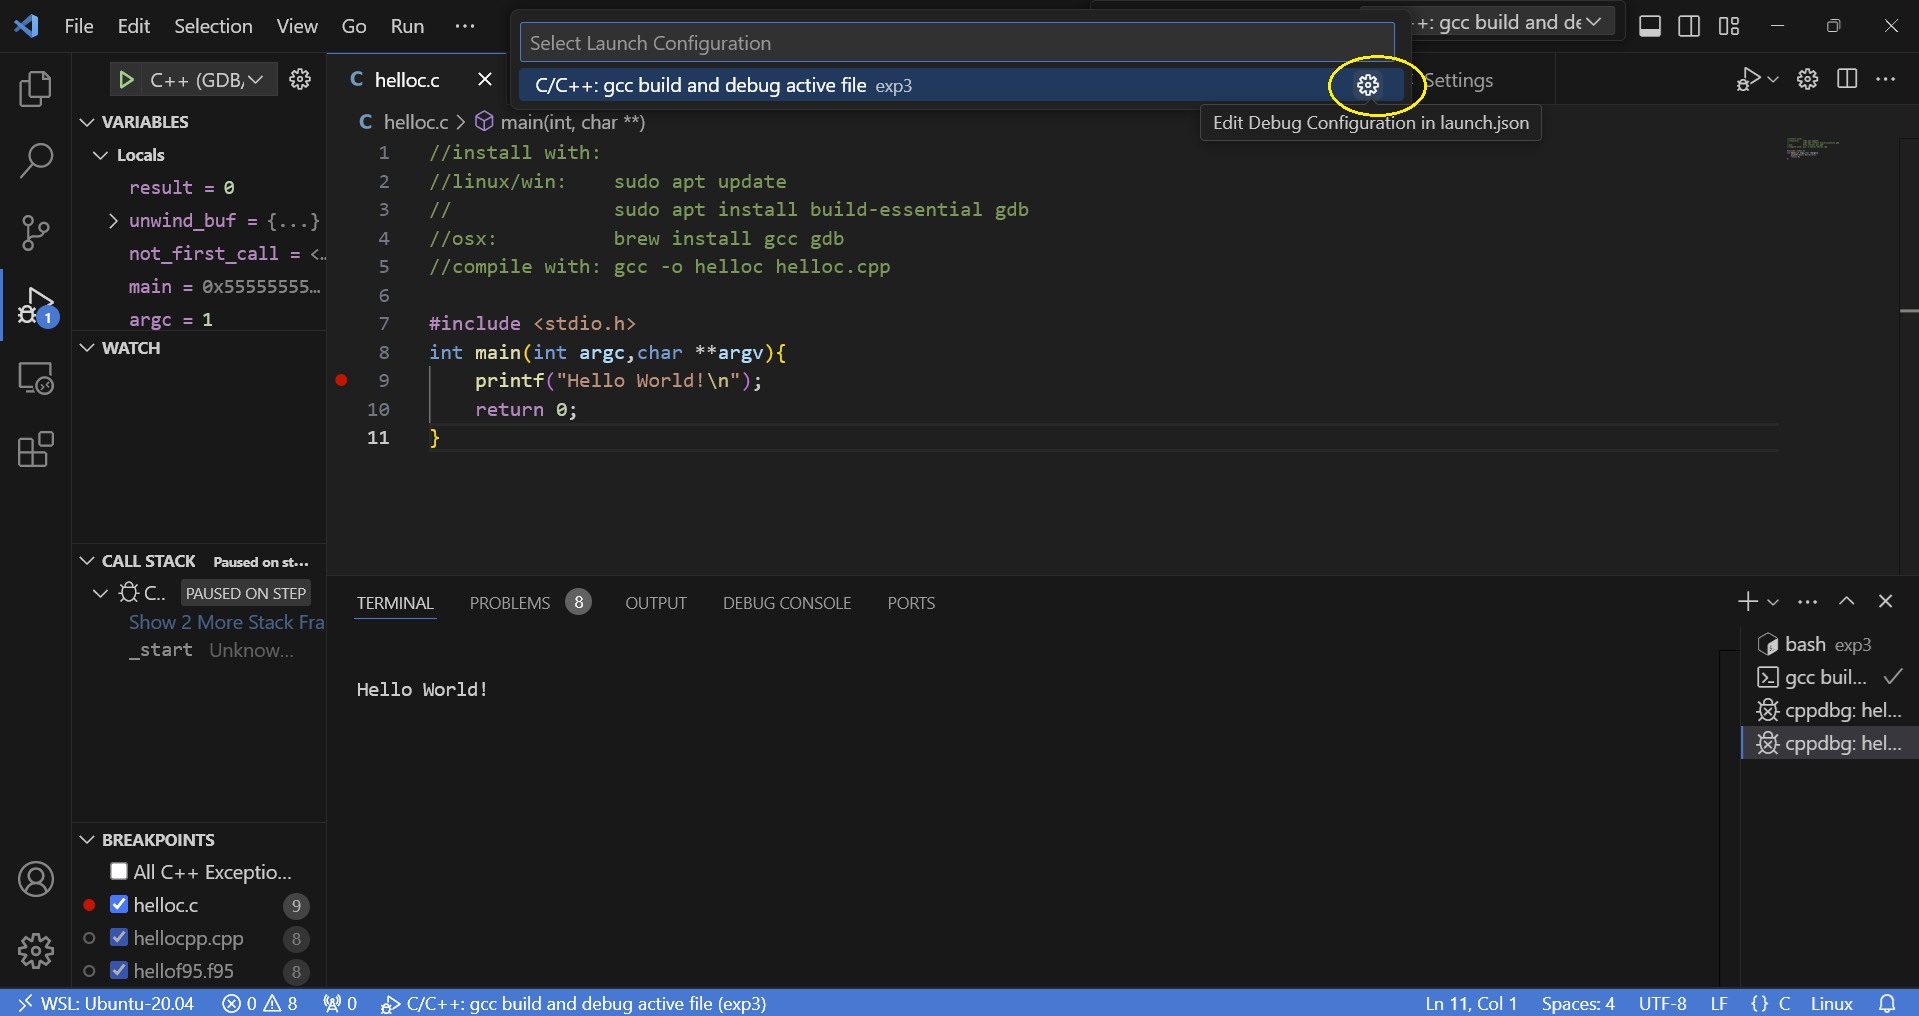
first open hello.c and install the proposed c/c++ extension.
you can open the terminal inside vs-code and execute the commands as described in the comments of hello.c
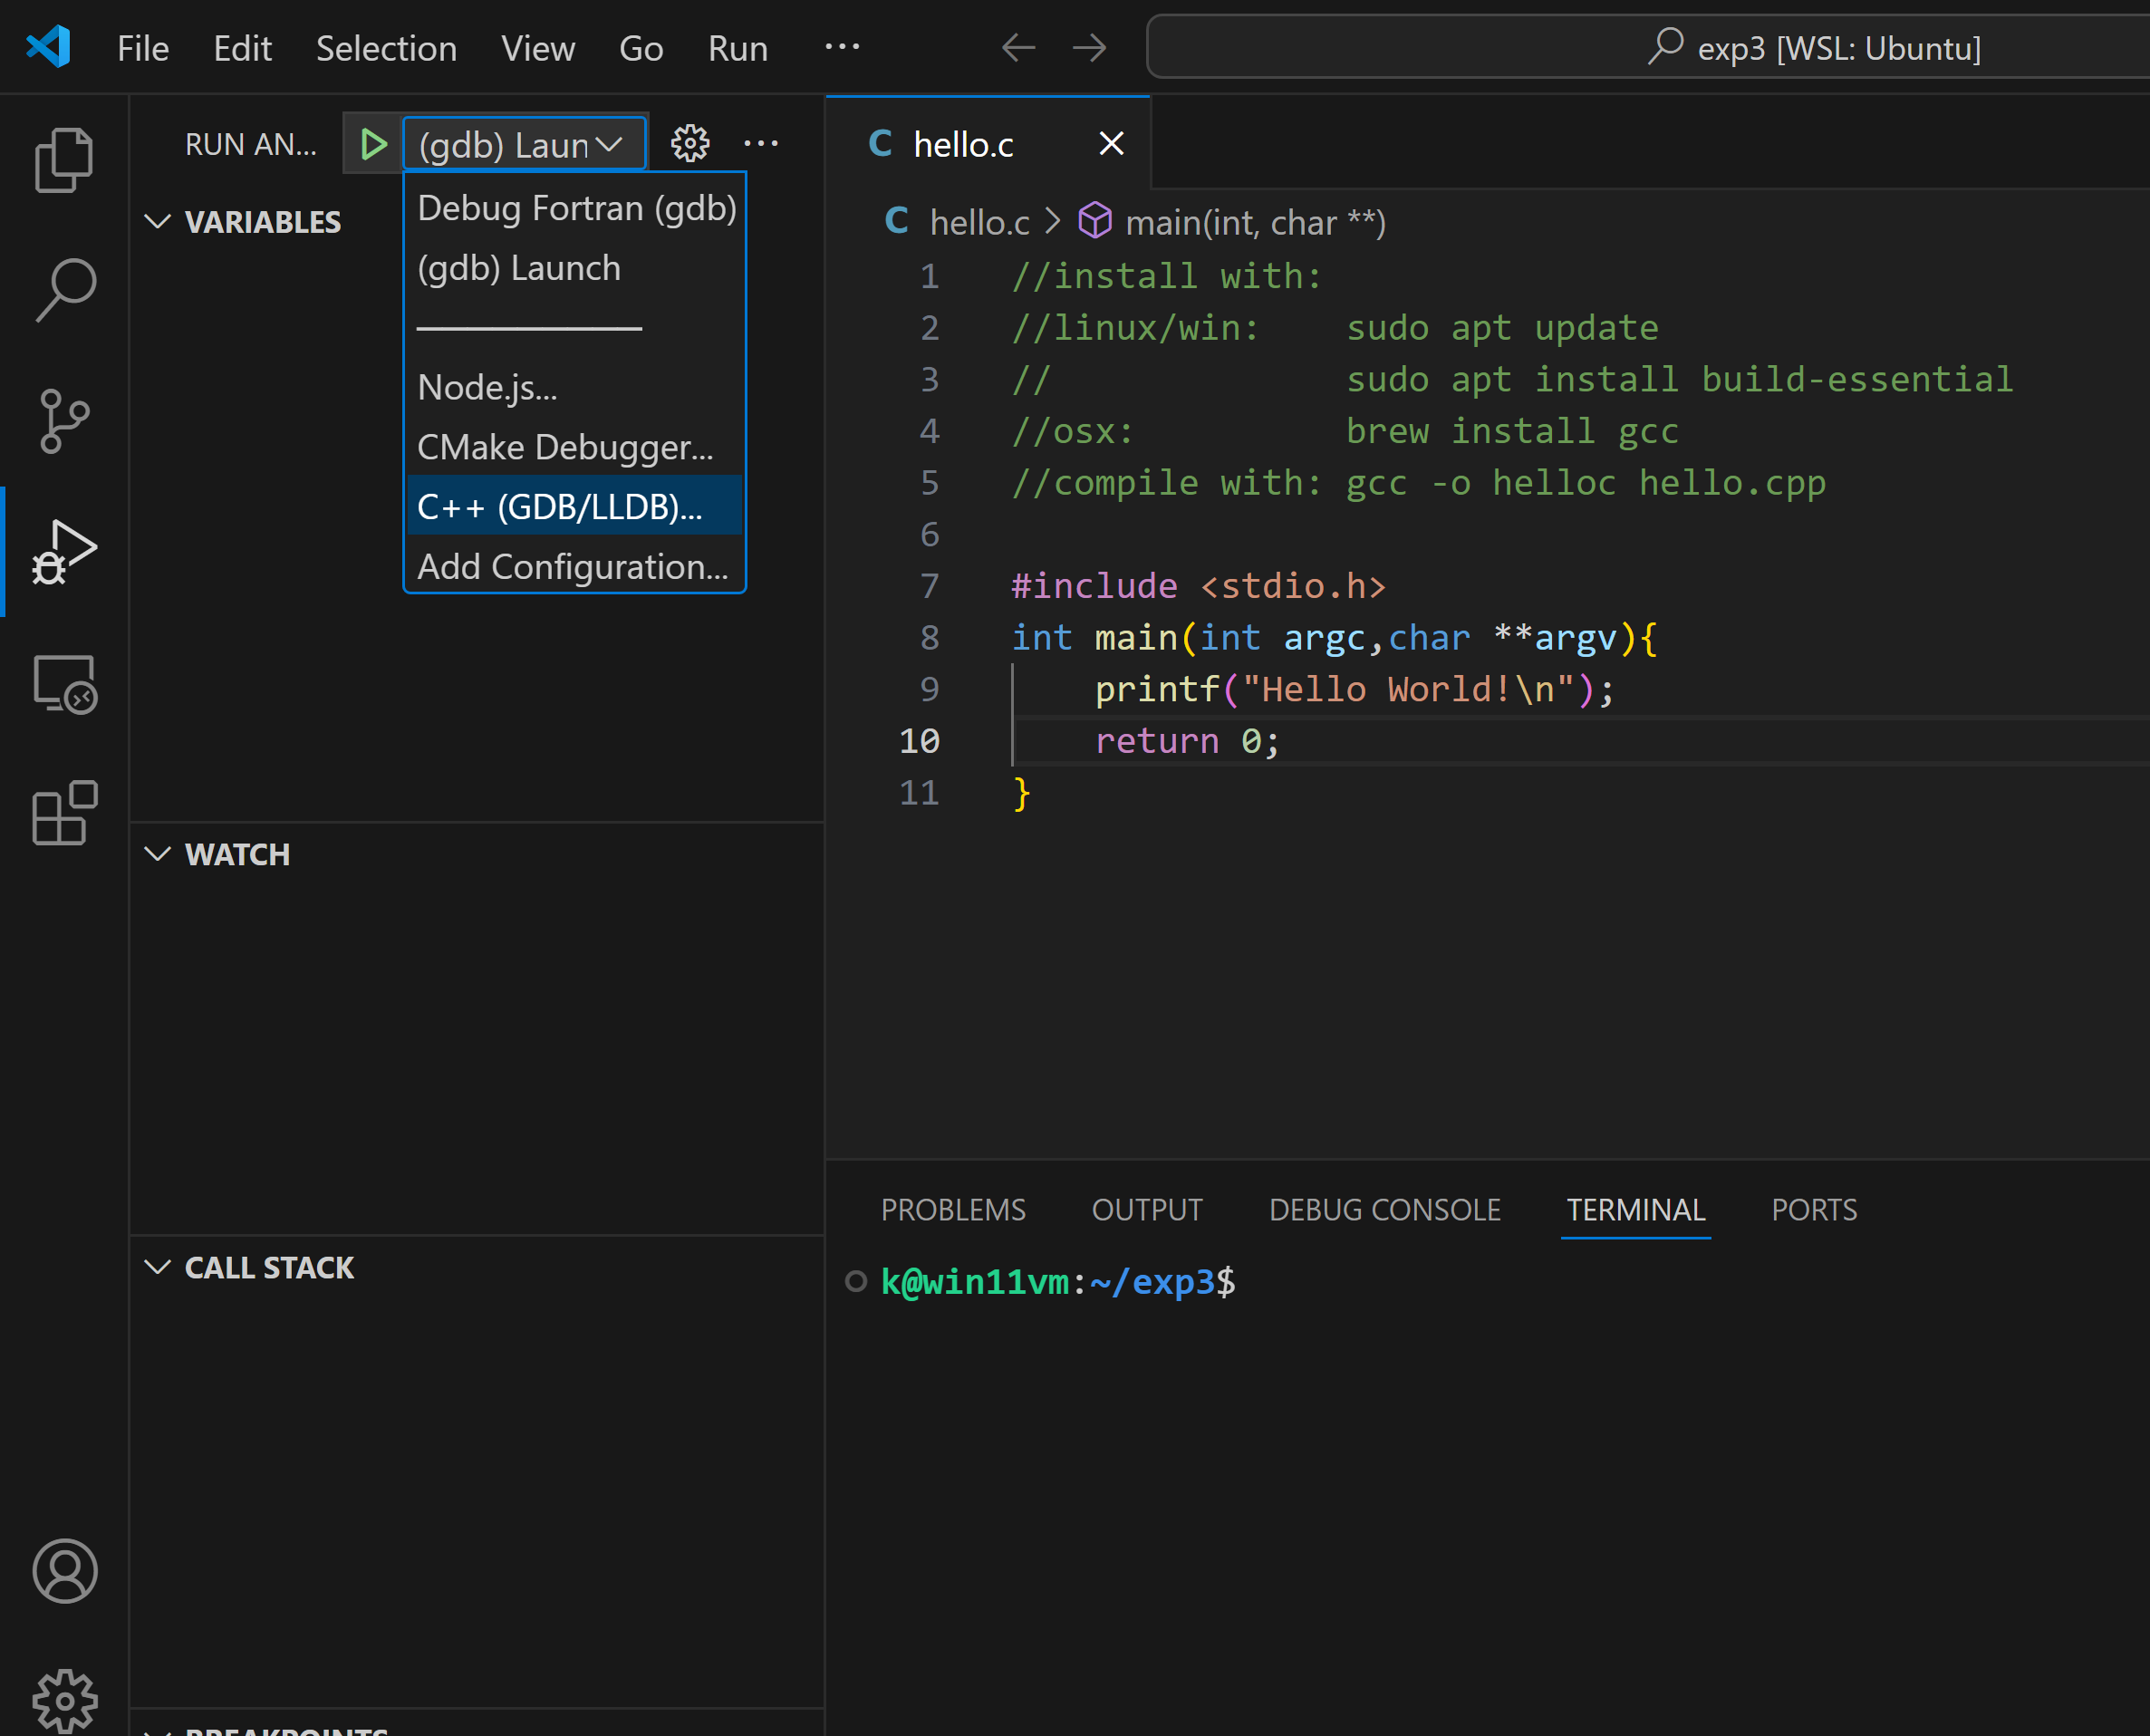
you can debug by clicking
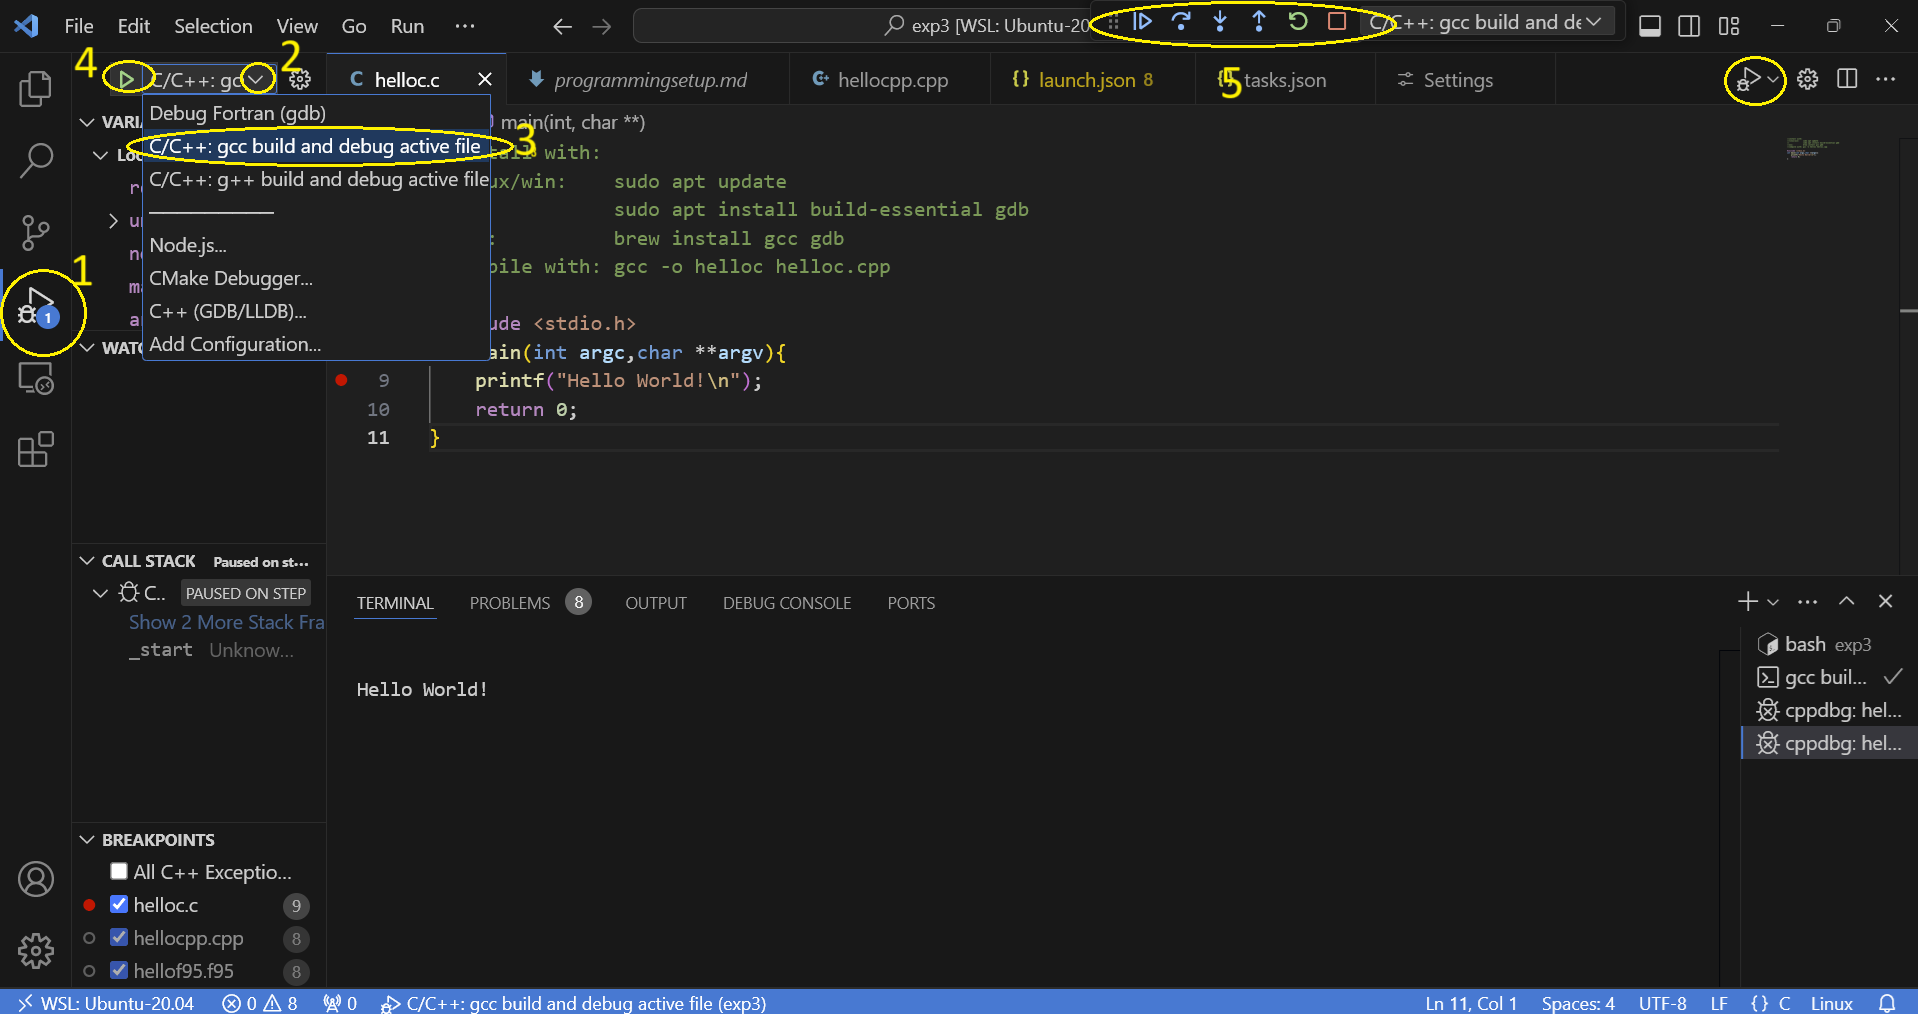
if things do not work go to generate debug settings
when you click debug you can set breakpoints by clicking in the boarder and placing a red mark:
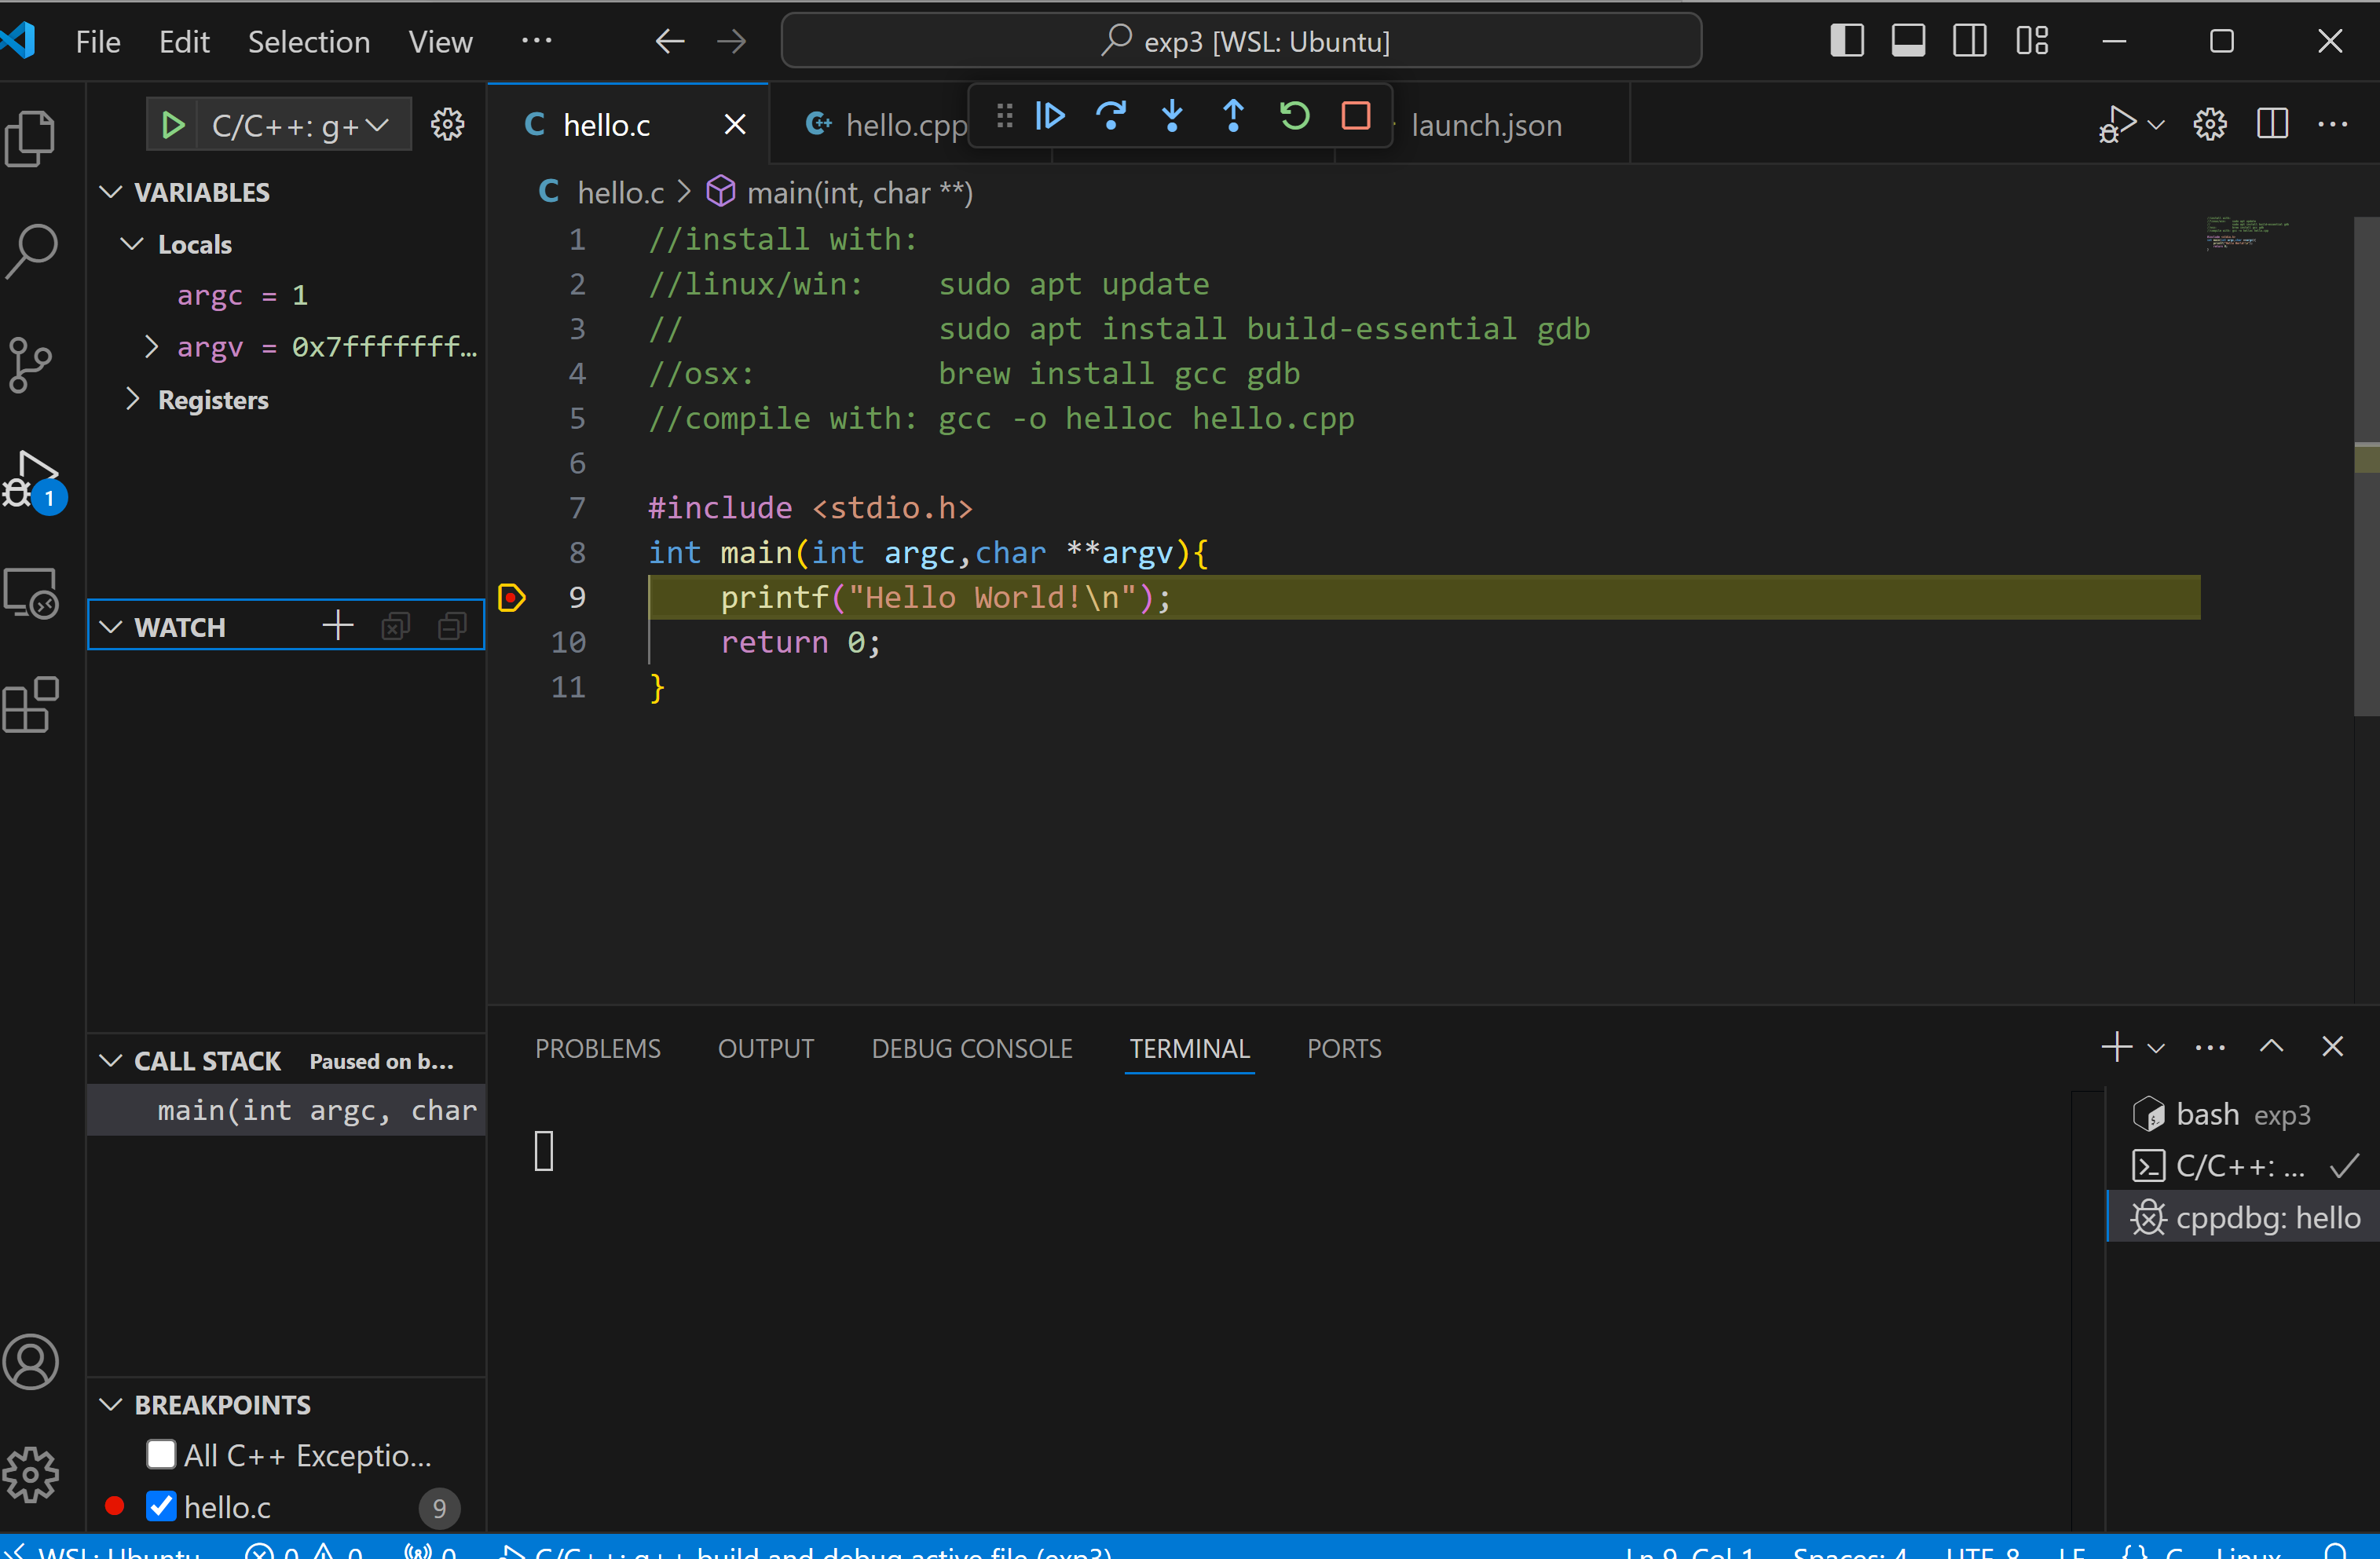
you can use the arrows to single step through your code.
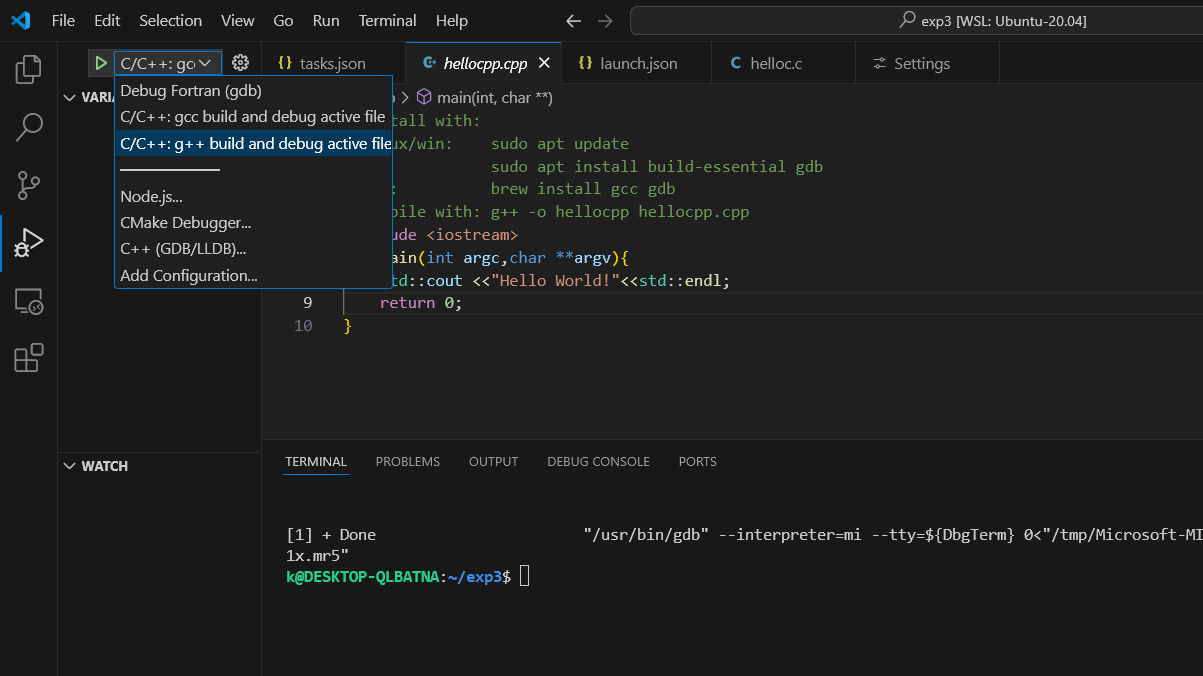
c++ you need to select g++
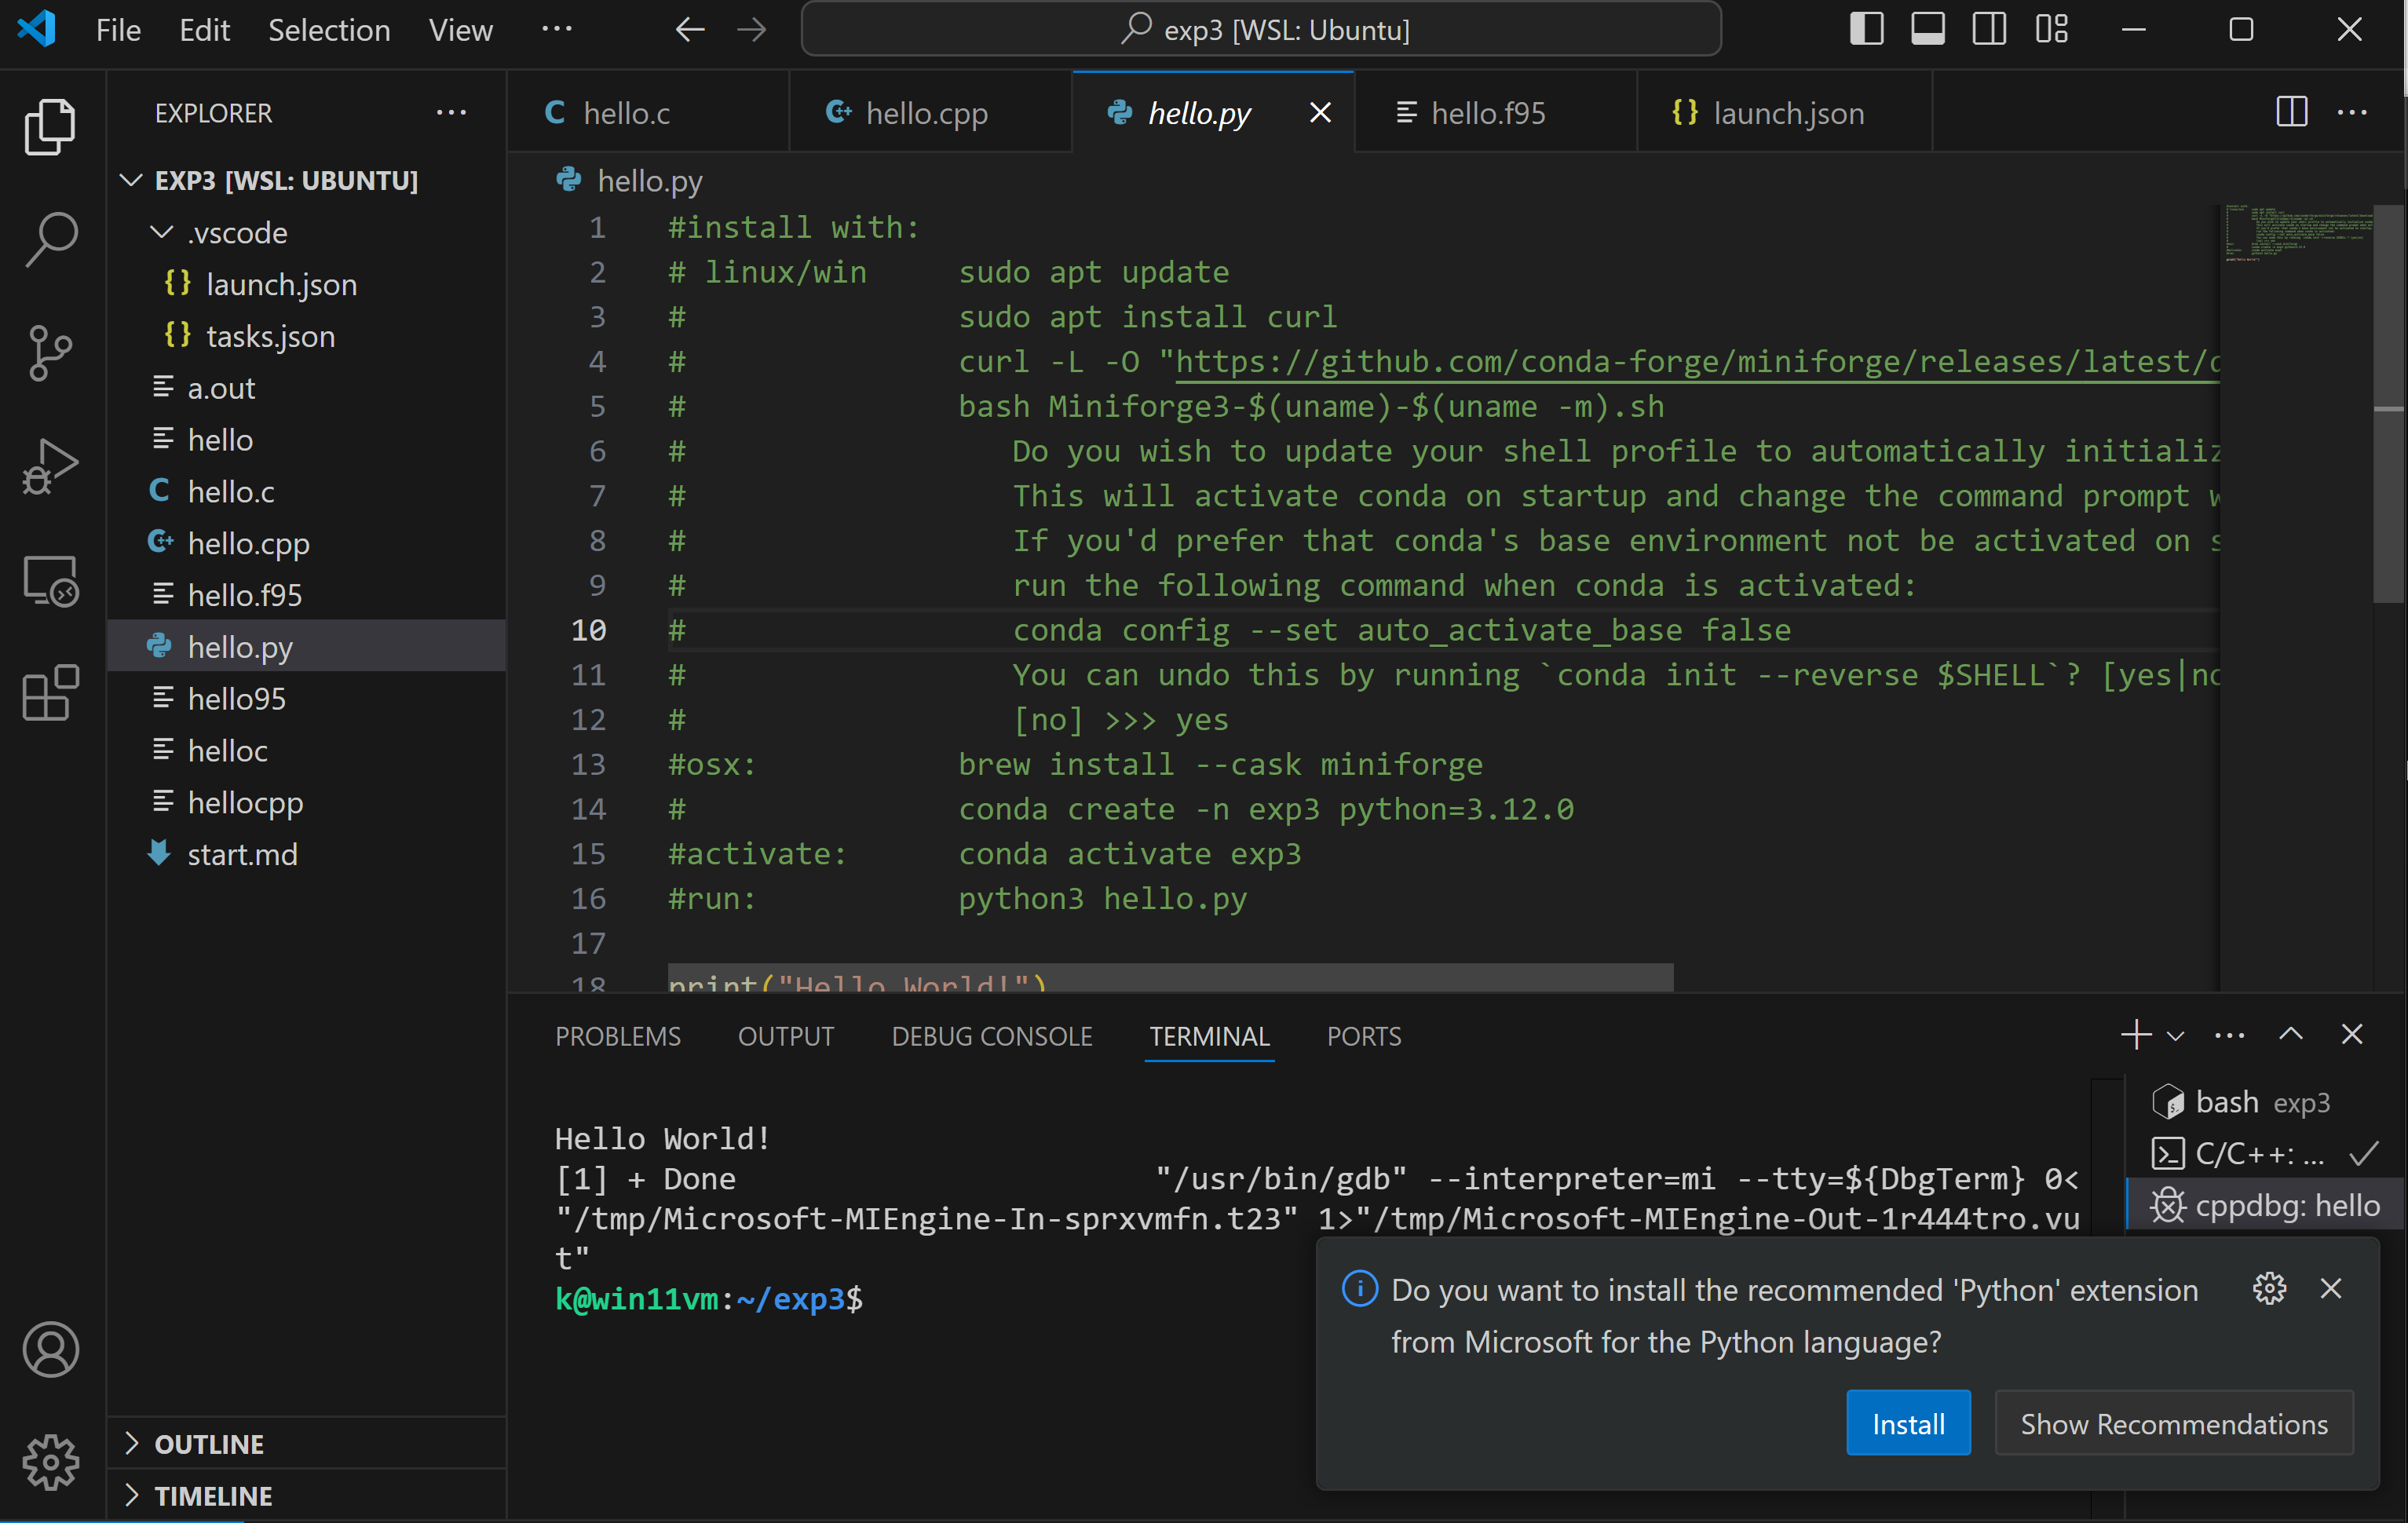
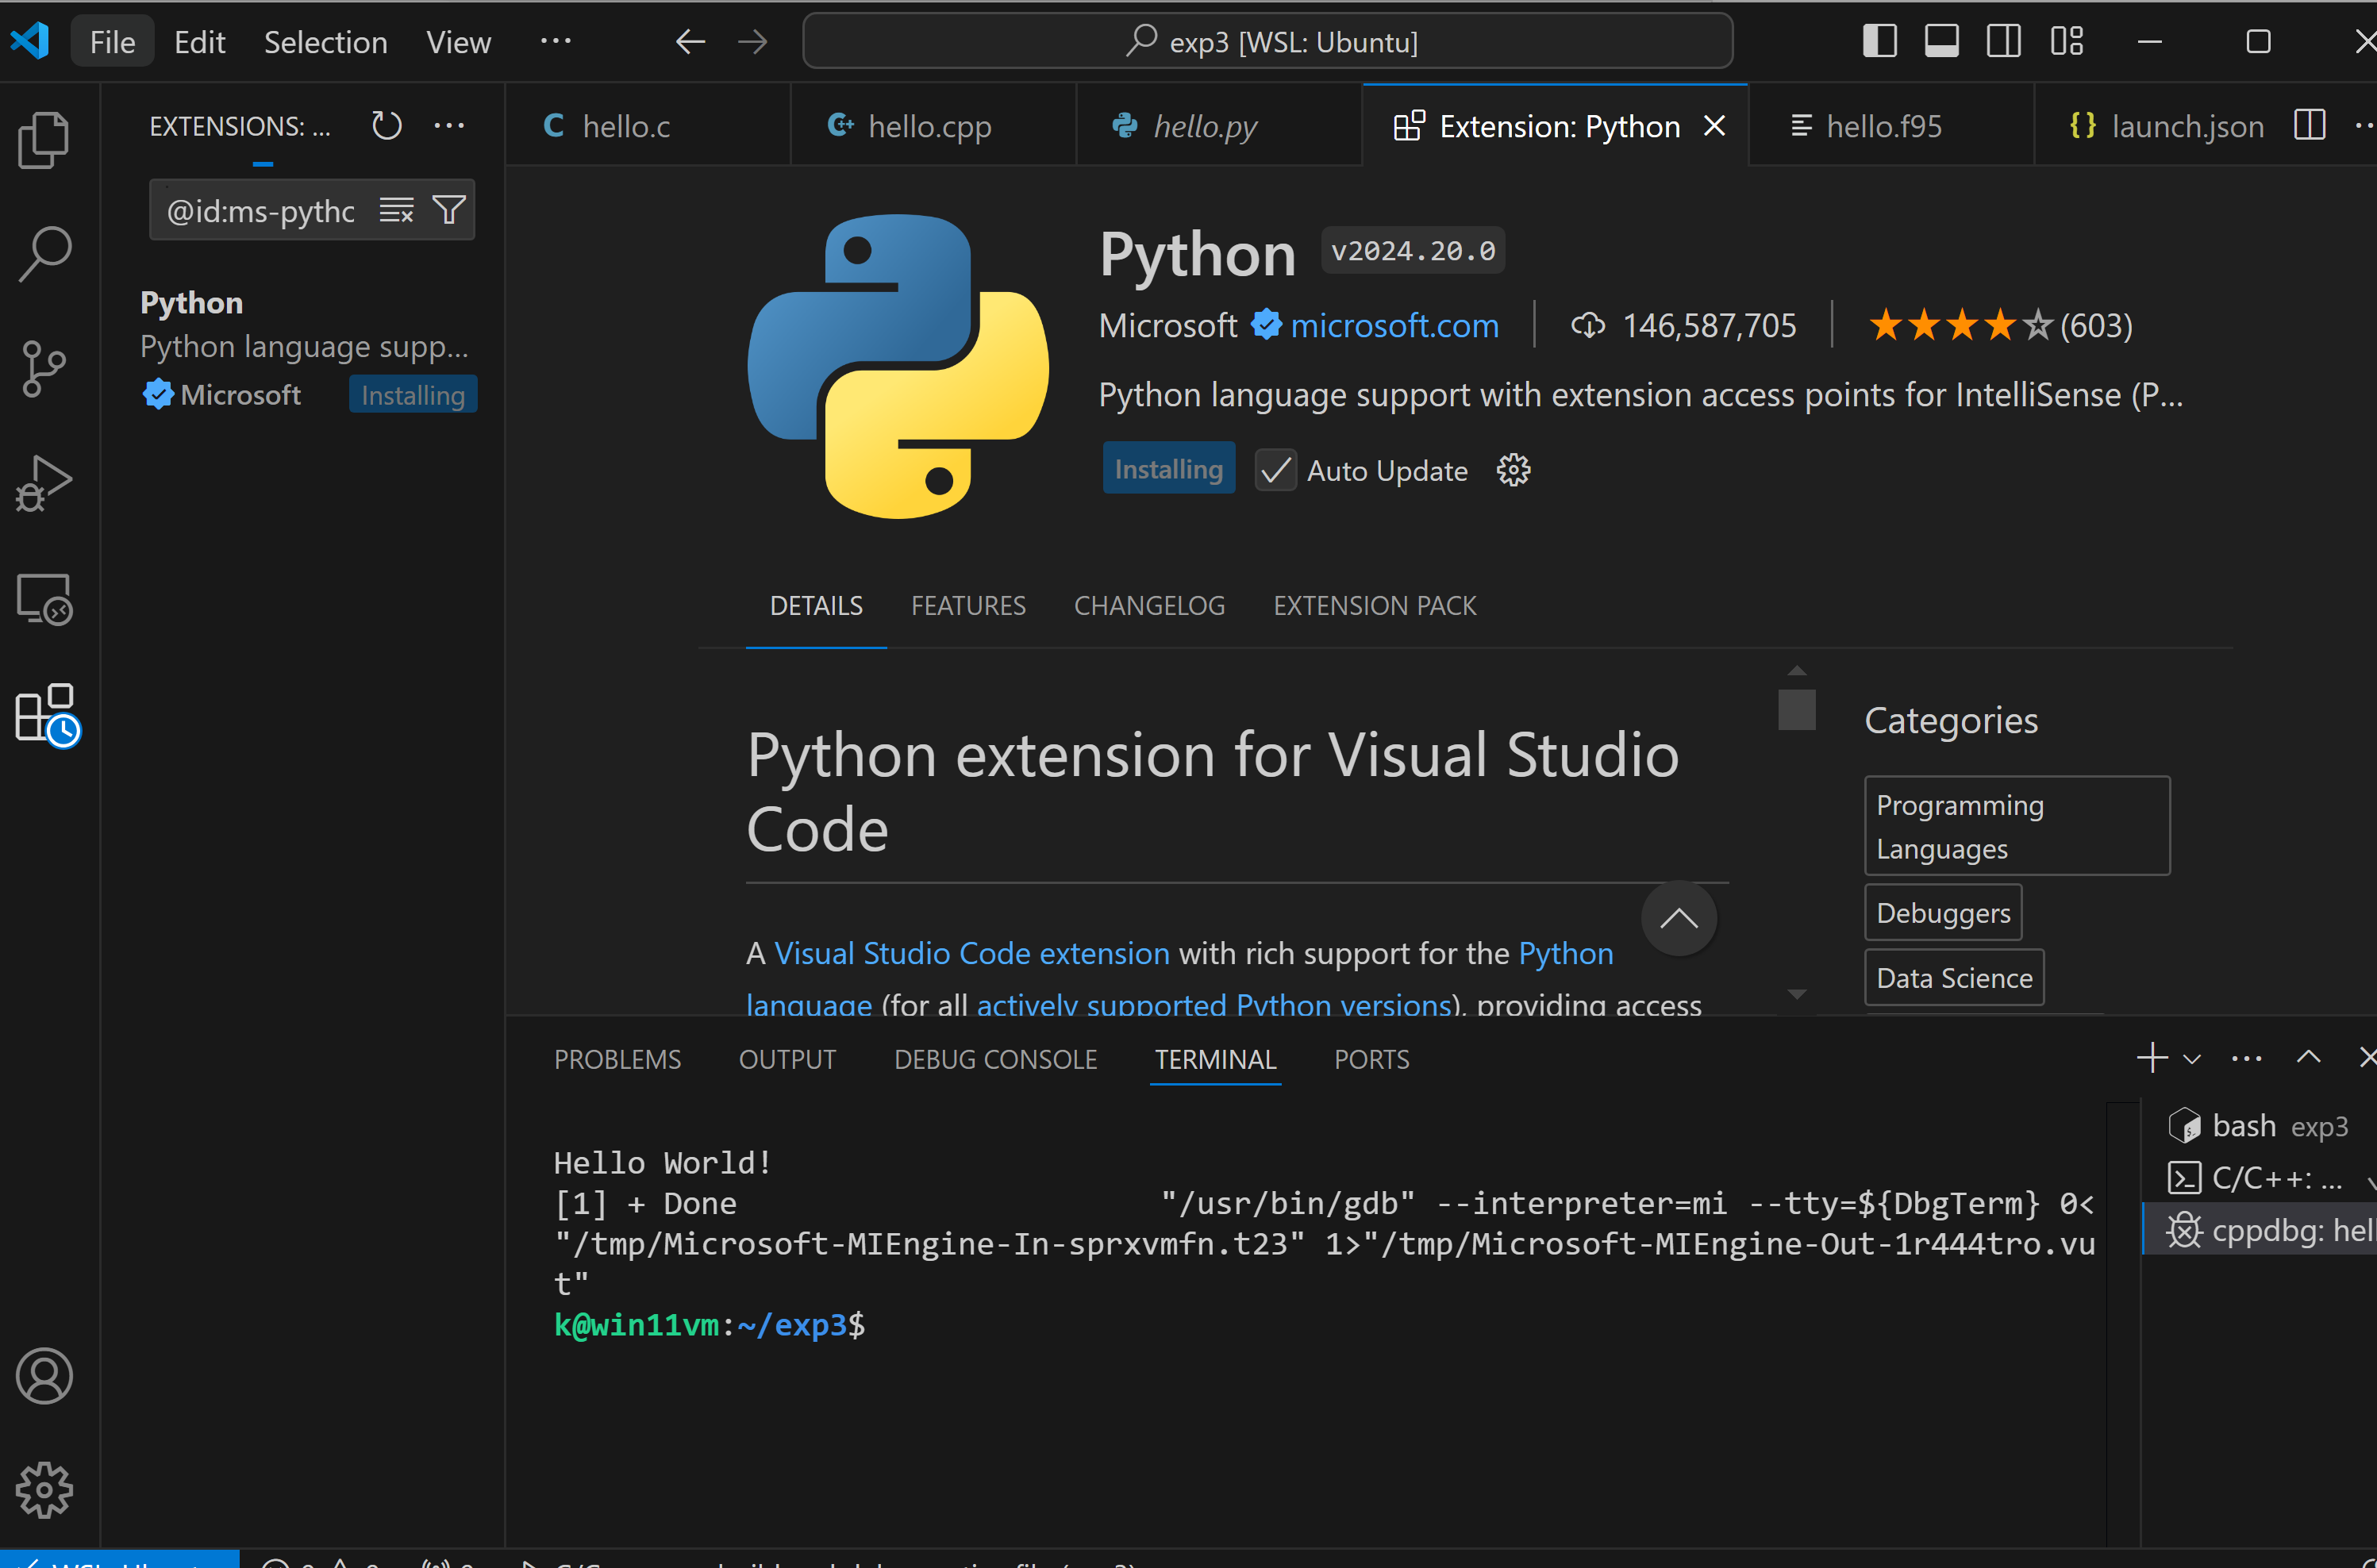
Python
for python install the recommended extension
 you need to close all ubuntu terminals and reopen it for conda to work
and then continue as described in the comments
Fortran
for fortran install first install the fortran compiler:
sudo apt install gfortran gdb
and the modern fortran extension:
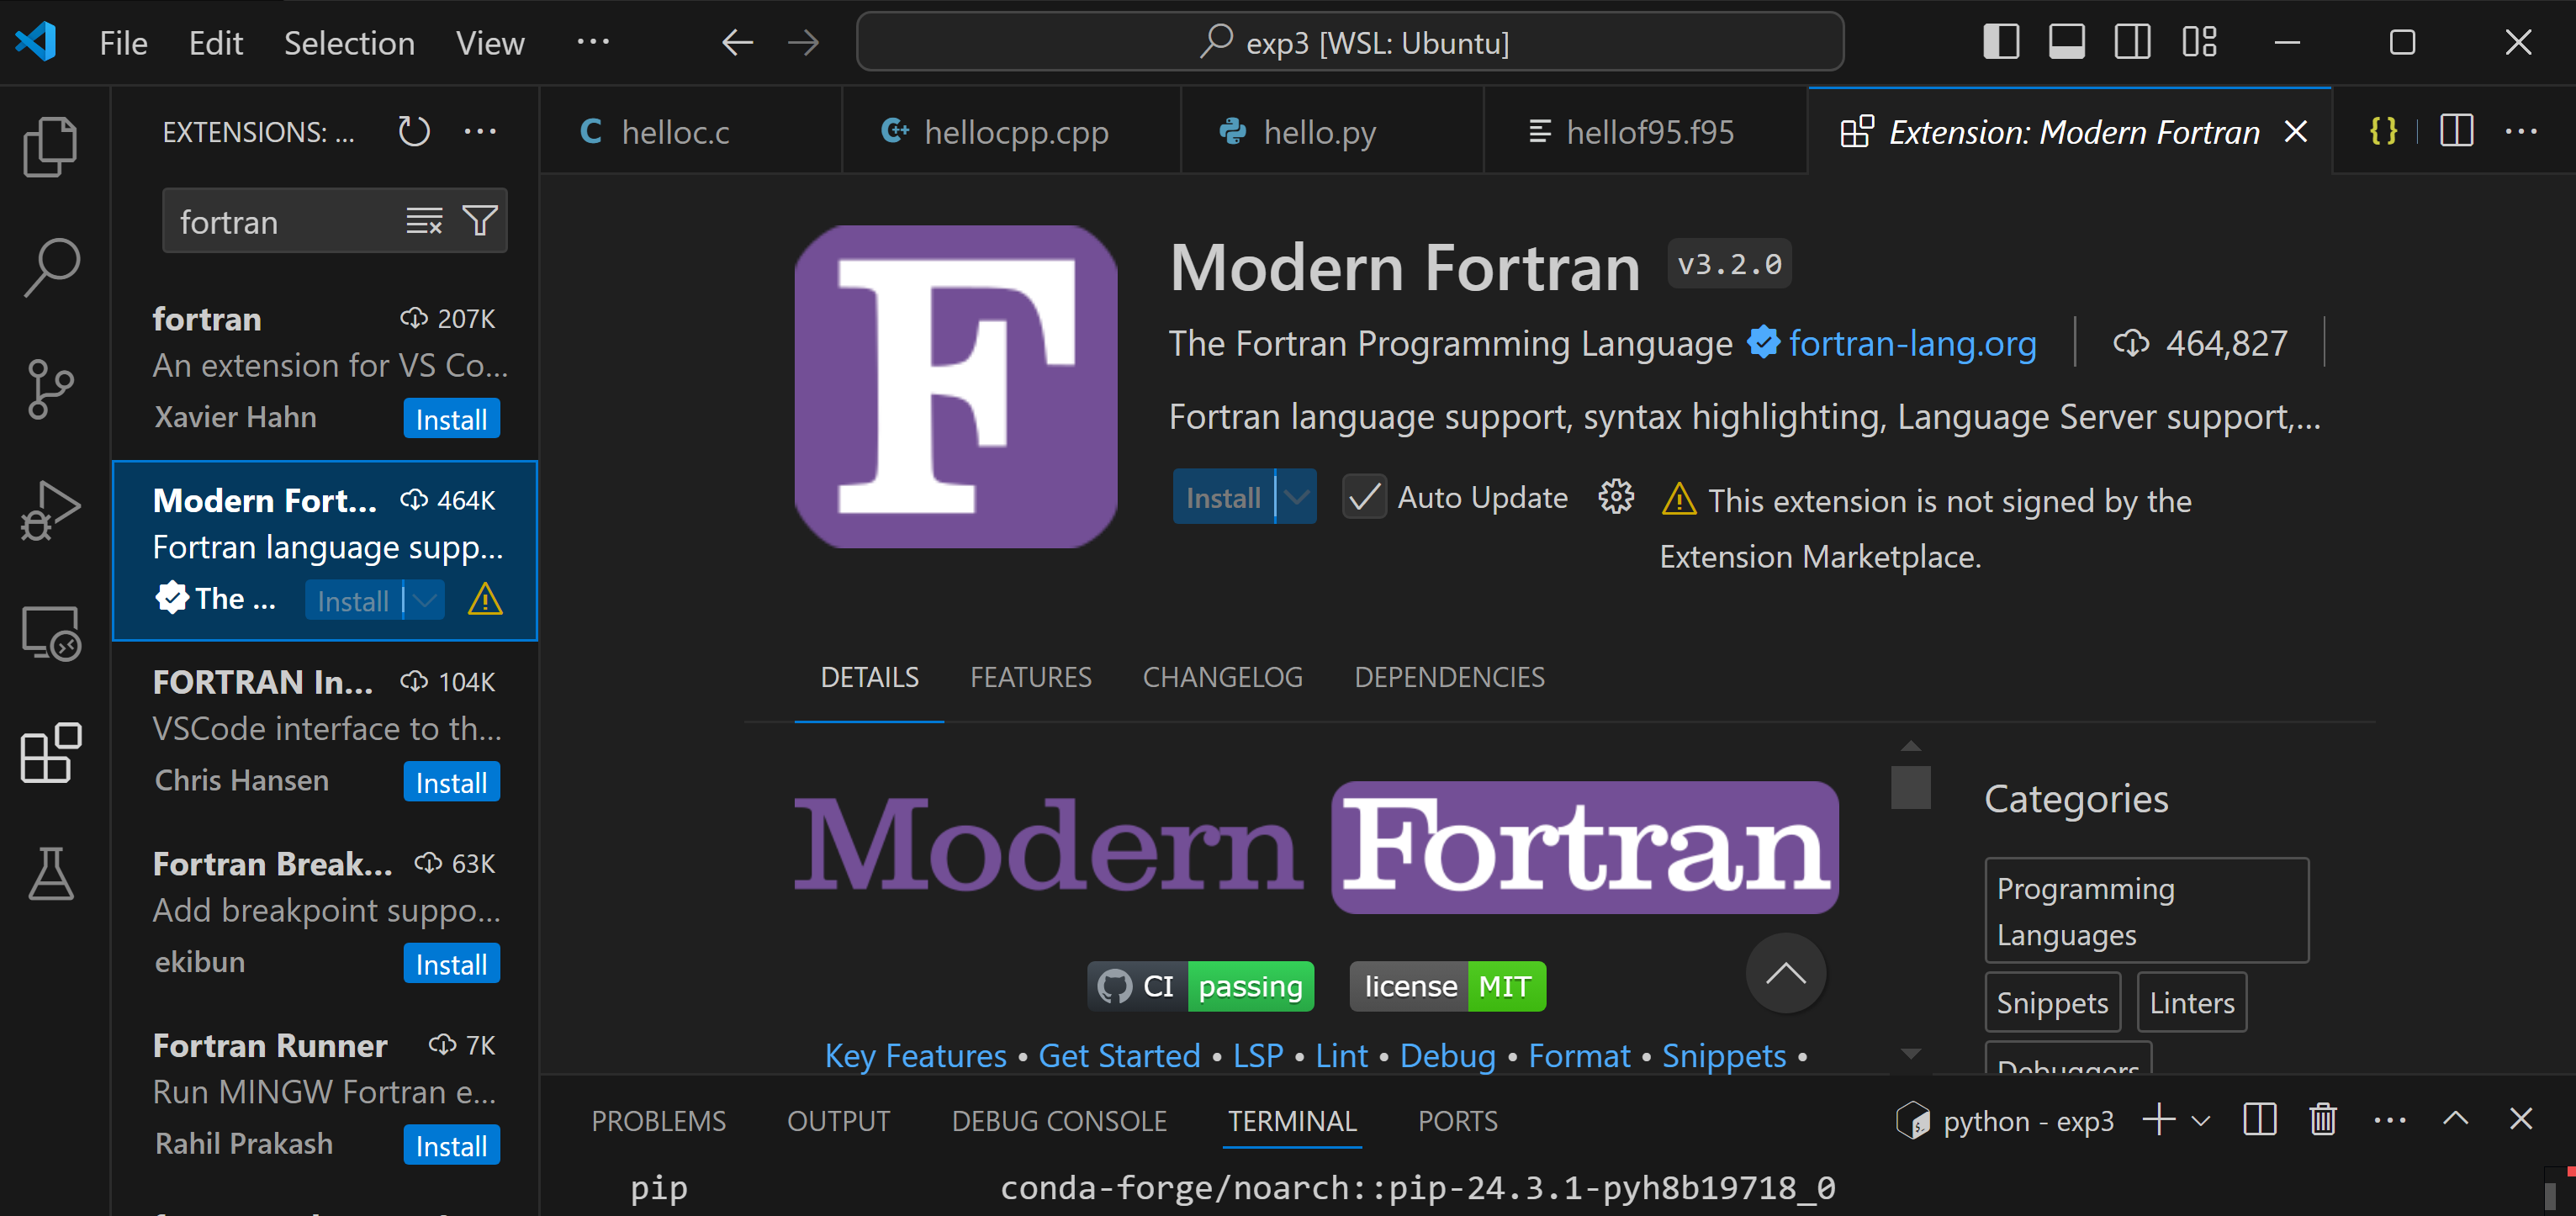
you need to select the cog wheel to install it:
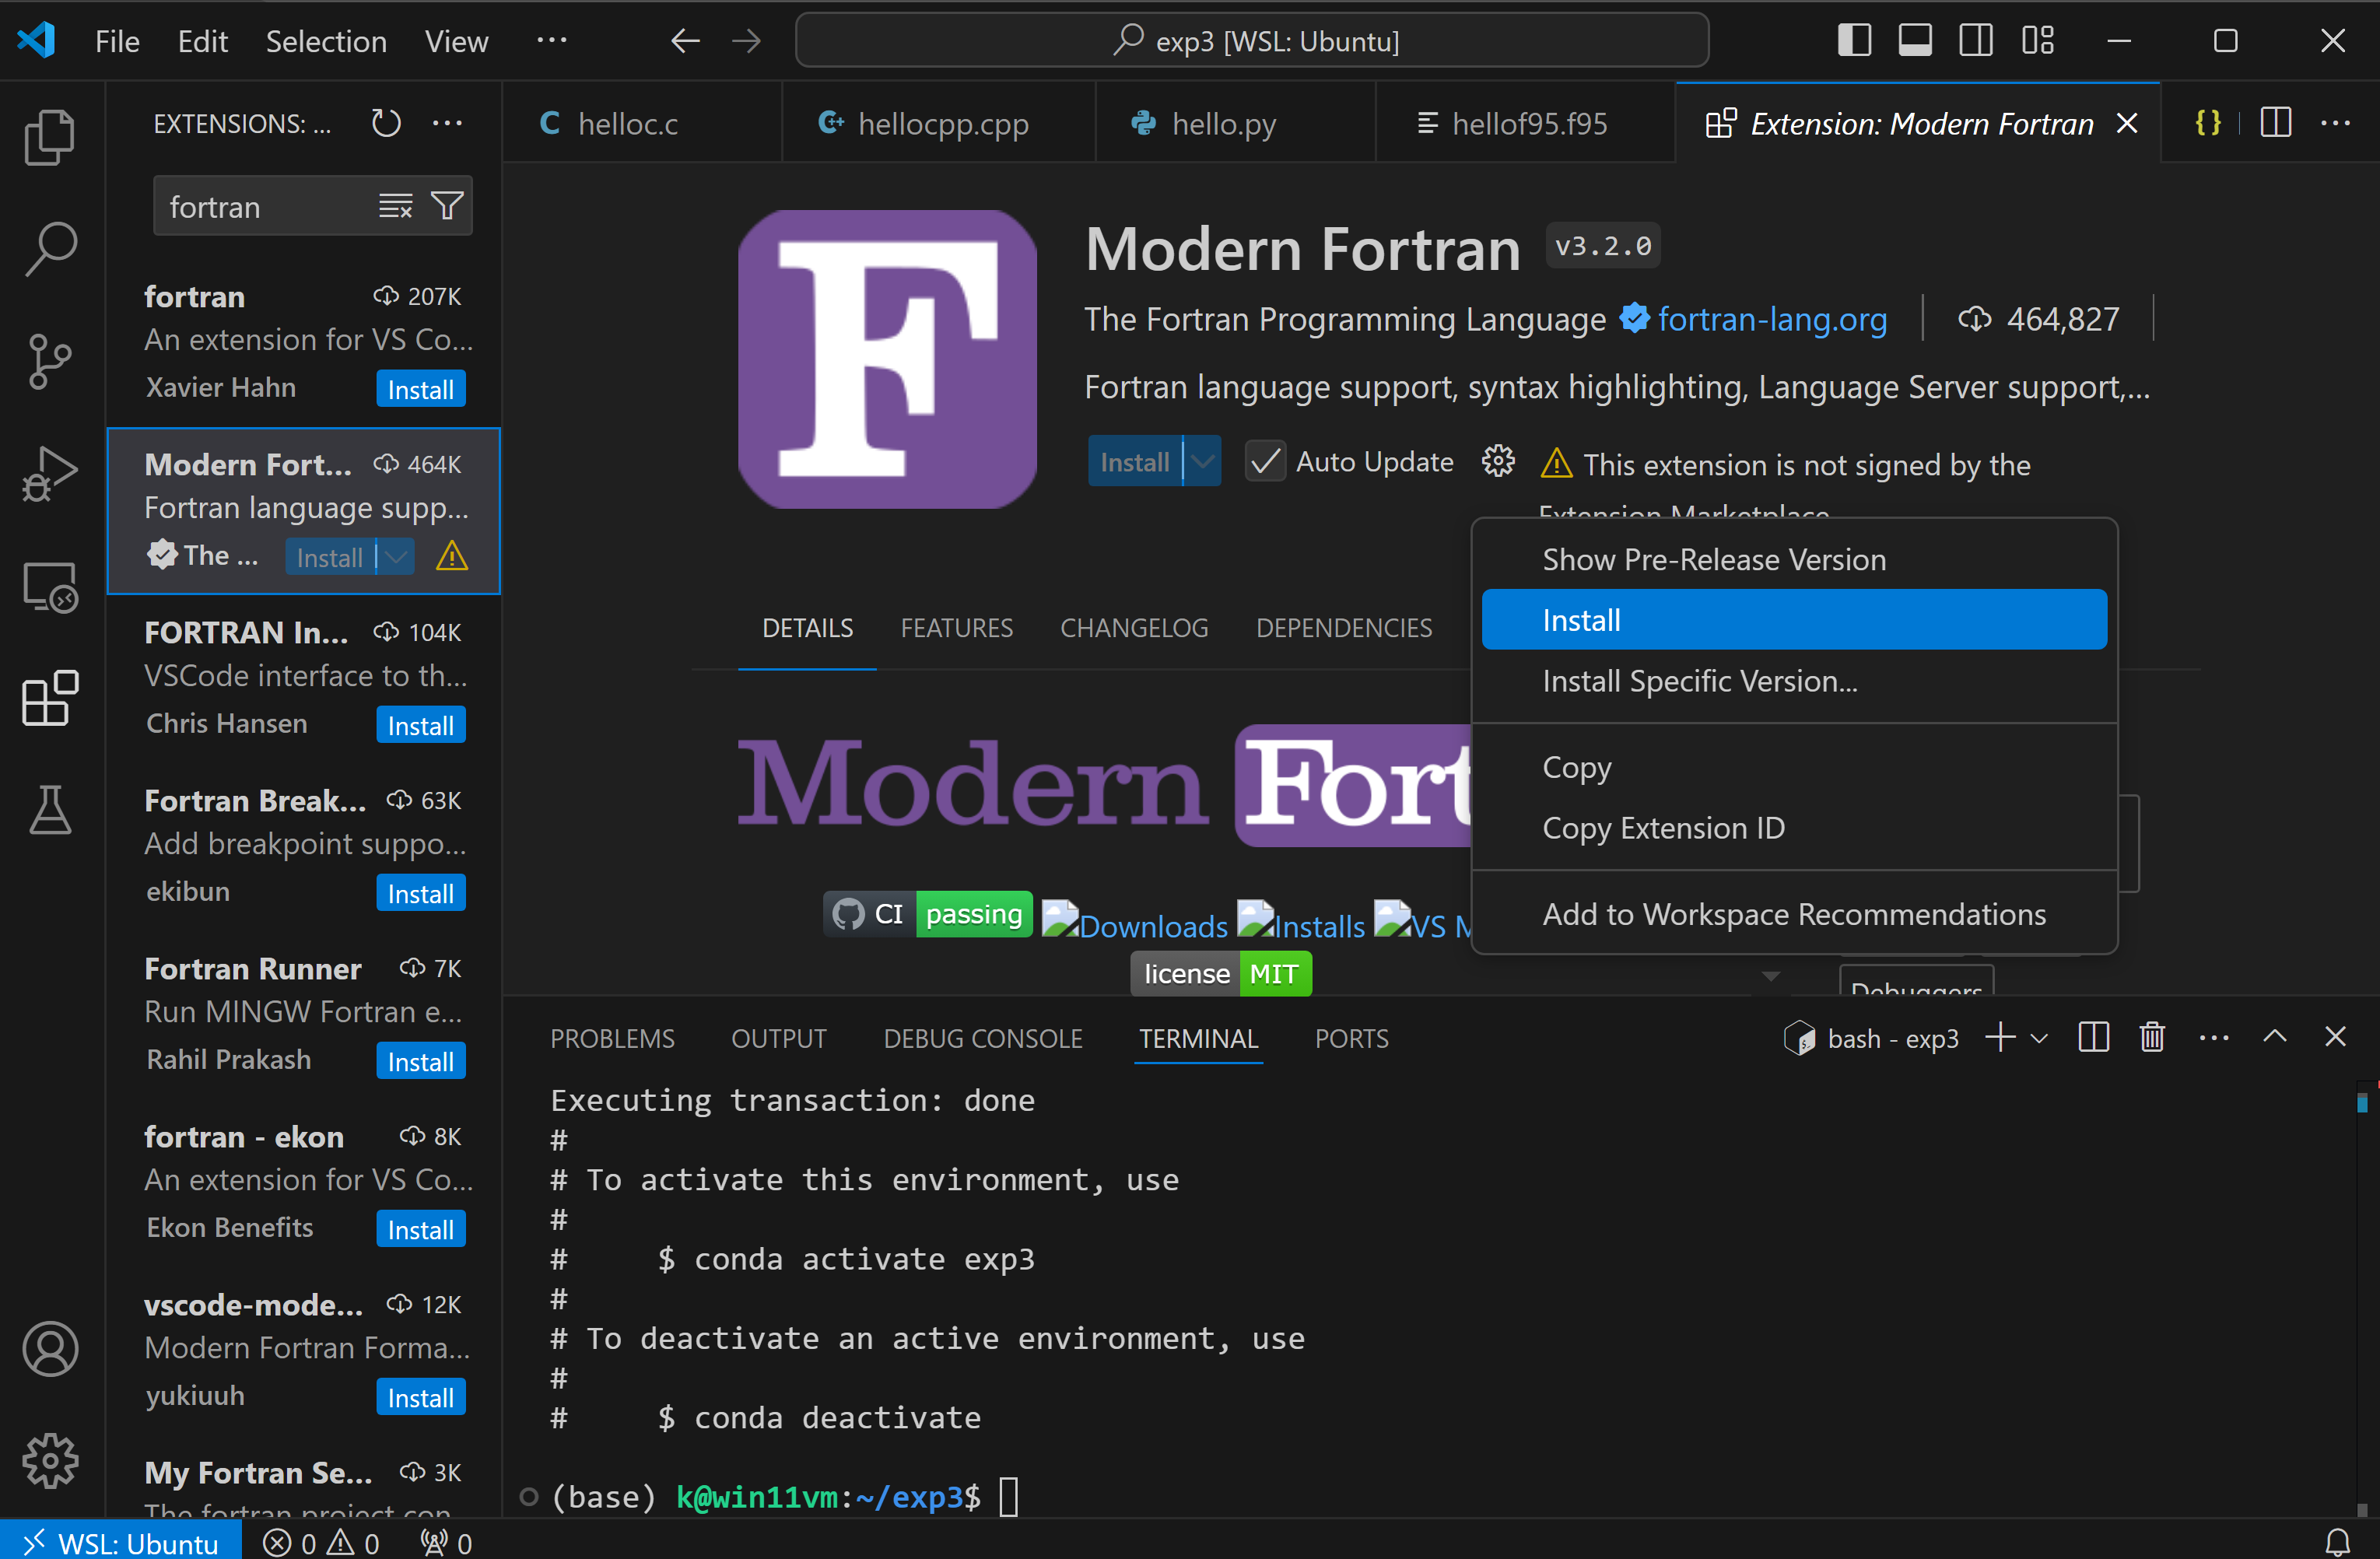
and then
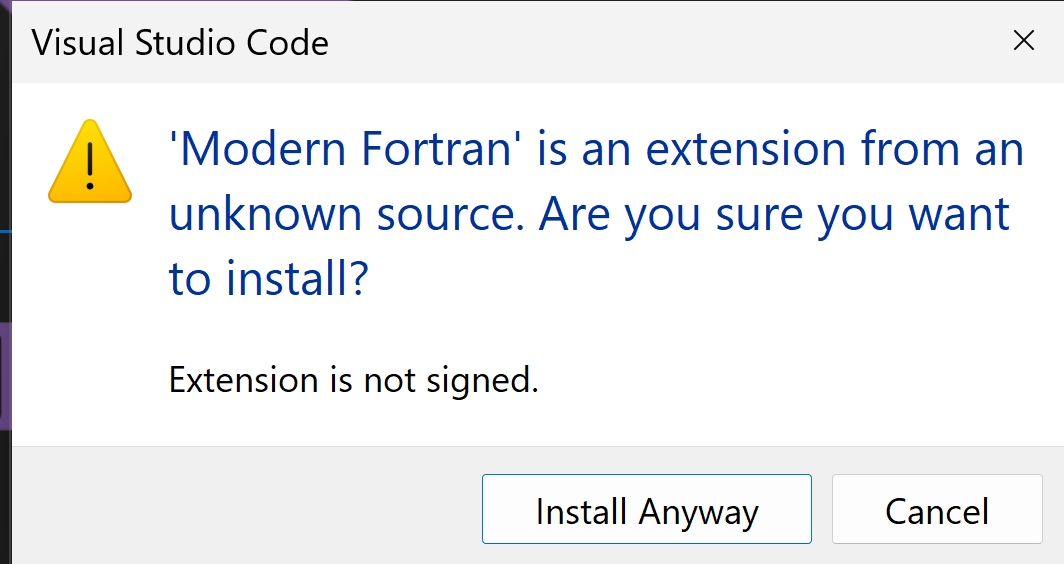
after installation also install:
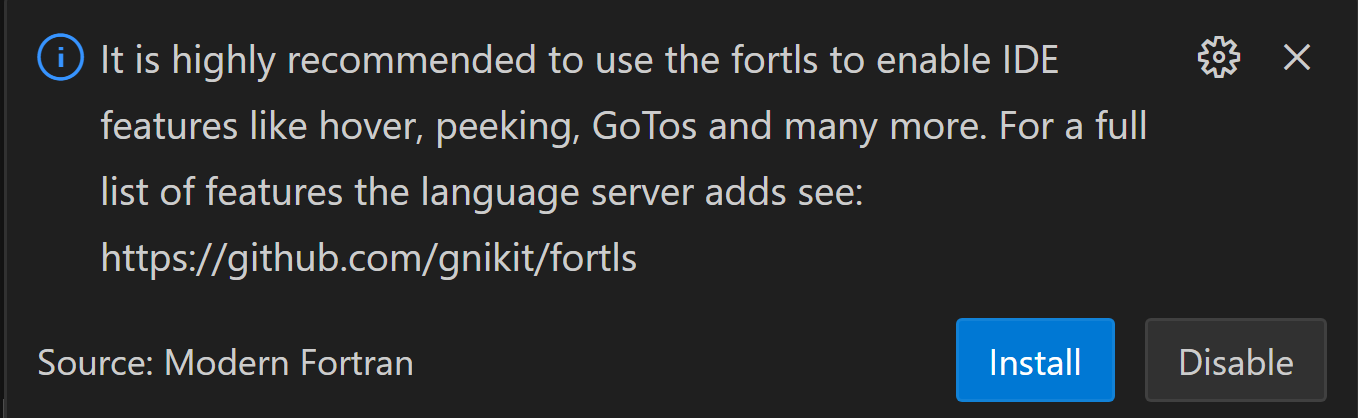
if that message does not occur or you cannot press the button type this in command line:
sudo apt install fortls
for fortran debugging:

generate debug settings
open hello.c
go to .vscode\launch.json file and only put this inside:
{
  "version": "0.2.0",
  "configurations": [
    {
      "name": "Debug Fortran (gdb)",
      "type": "cppdbg",
      "request": "launch",
      "preLaunchTask": "gfbuild",
      "program": "${fileDirname}/${fileBasenameNoExtension}",
      "cwd": "${fileDirname}",
      "args": [],
      "environment": [],
      "stopAtEntry": false,
      "externalConsole": false,
      "MIMode": "gdb",
      "setupCommands": [
        {
          "description": "Enable pretty-printing for gdb",
          "text": "-enable-pretty-printing",
          "ignoreFailures": true
        }
      ]
    }
  ]
}
press the debug triangle with the bug (4th icon on the left)
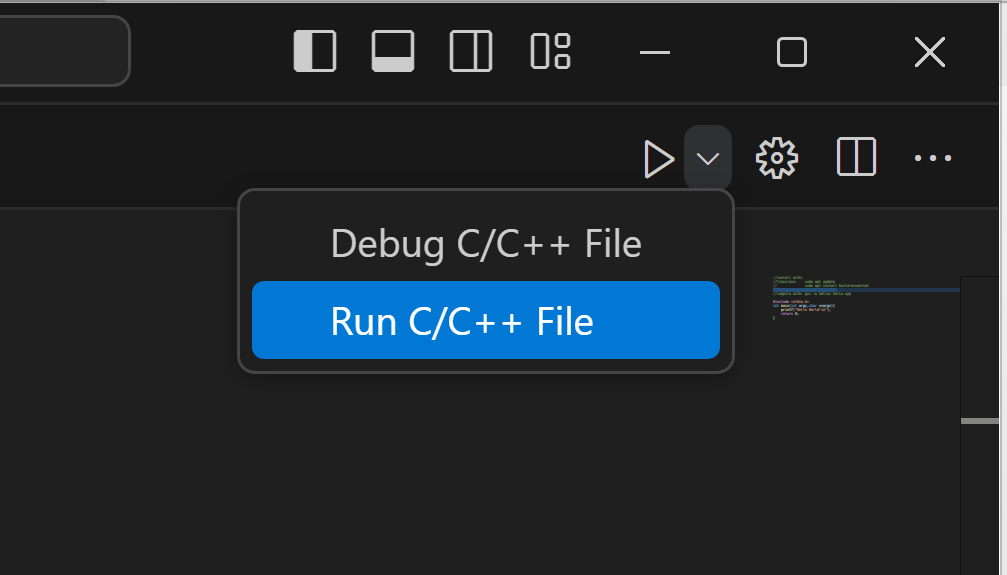
then start debugging/running:
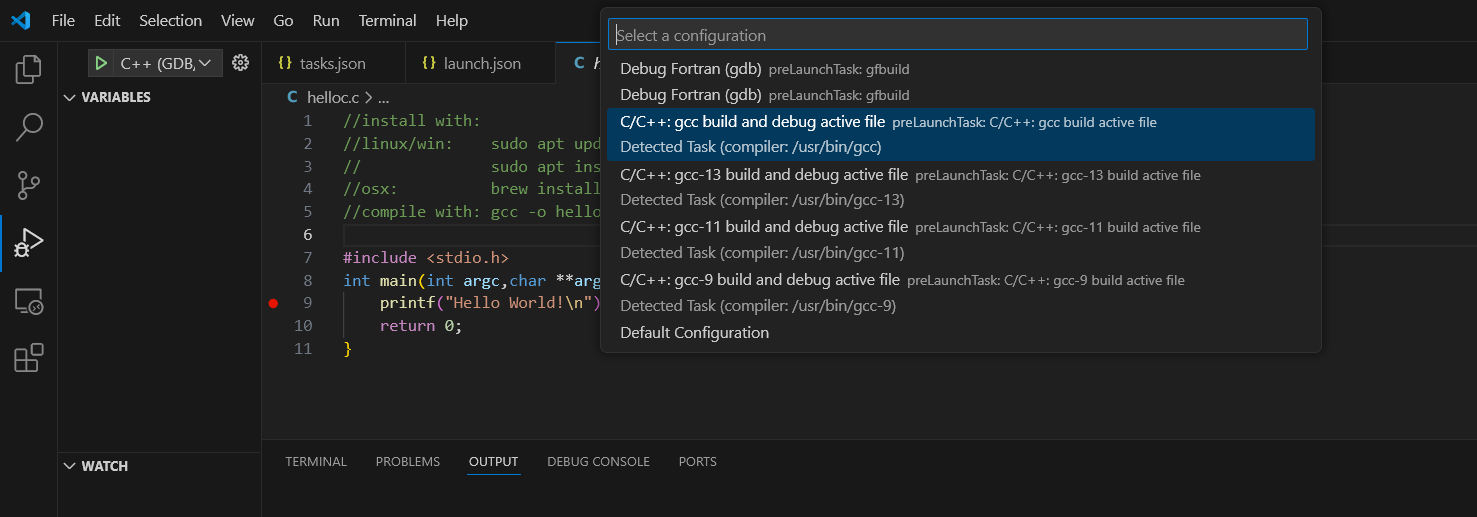
generate new launch .vscode\launch.json settings:
then run or debug it:
do this for c++ and python also
links:
https://submit.mit.edu/submit-users-guide/tutorials/tutorial_5.html https://code.visualstudio.com/docs/cpp/config-wsl https://iraspa.org/blog/visual-studio-code-c-cpp-fortran-with-multiple-source-files/
Setup specific python environment for multilanguage jupyter notebooks
We want to use the jupyter notebooks not only with python (typical use case) but also with C++, C, Javascript and even Fortran, and thus need to stick with a specific python version (python 3.11) for C++/C (from ROOT/Cern) and Fortran to work. As it is pretty involved to get the Fortran compiler to work on windows, we will keep using Windows subsystem for Linux to simplfy our life on Windows. Thus open your miniforge prompt and type
for c/c++
# Python<=3.11 is needed such that the fortran-magic works. also under wsl
# BUT THIS WAS ALREADY done above
conda config --set channel_priority strict
conda create -c conda-forge --name ROOT root python=3.14
conda activate ROOT
pip install ipykernel
The following lines are only needed if you want to rename the names of the python environment for the jupyter notebook
python -m ipykernel install --user --name ROOT
python -m ipykernel install --user --name ROOT --display-name "Python (py311)"
if you also want to run jupyter notebooks in the browser then also do:
pip install jupyter-notebook
jupyter notebook
In order to plot with ROOT from cern that uses c++ you can additionally install ROOT from cern (if you work with WSL you need to install the proper Ubuntu Version which you can figure out in WSL with cat /etc/issue)
If you installed root directly in windows (not recommended) then edit C:\root_v6.36.04\etc\notebook\kernels\root\kernel.json.
and write in this file:
{
    "language": "python",
    "display_name": "ROOT python",
    "argv": [
       "C:\\Users\\k\\miniforge3\\envs\\py311\\python.exe",
        "-m",
        "ipykernel_launcher",
        "-f",
        "{connection_file}"
        ],
        "env": {
            "PYTHONPATH": "c:\\root_v6.36.04\\bin"
        }
}
for all other platforms including wsl on windows no changes are required.
for windows do:
pip install metakernel
jupyter kernelspec install c:\root_v6.36.04\etc\notebook\kernels\root
otherwise do:
pip install metakernel
#not needed: jupyter kernelspec install ~/miniforge3/envs/ROOT/etc/notebook/kernels/root/
for fortran
sudo apt install binutils cmake dpkg-dev g++ gcc libssl-dev git libx11-dev \libxext-dev libxft-dev libxpm-dev python3 libtbb-dev libvdt-dev libgif-dev

sudo apt install gfortran libpcre3-dev \
libglu1-mesa-dev libglew-dev libftgl-dev \
libfftw3-dev libcfitsio-dev libgraphviz-dev \
libavahi-compat-libdnssd-dev libldap2-dev \
 python3-dev python3-numpy libxml2-dev libkrb5-dev \
libgsl-dev qtwebengine5-dev nlohmann-json3-dev libmysqlclient-dev \
libgl2ps-dev \
liblzma-dev libxxhash-dev liblz4-dev libzstd-dev
Then open the next jupyter notebook ./jupyternotebook/P1.0-Setup.ipynb (under windows you need to start vs-code by code . from the current folder and select the ROOT python environment.
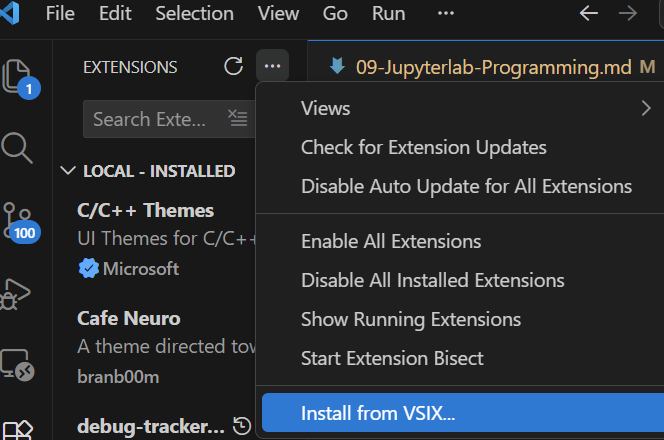
At the date of writing 19.11.2025 the vscode-notebook-renderers had a bug with javascript. I wrote a Pull Request that should be merged soon. For the impatient ones you can install the extension update from here vscode-notebook-renderers fix
Go to the extension pane and select the three dots to install it from a local source:
for R in jupyter
Note that the libraries of R in jupyter directly in windows are note loading lapack properly. So better use WSL under windows.
# Python<=3.11 is needed such that the fortran-magic works. also under wsl
# BUT THIS WAS ALREADY done above
sudo apt update
sudo apt install curl
sudo apt-get install r-base
curl -L -O "https://github.com/conda-forge/miniforge/releases/latest/download/Miniforge3-$(uname)-$(uname -m).sh"
bash Miniforge3-$(uname)-$(uname -m).sh
conda config --set channel_priority strict
conda create -c conda-forge --name ROOT root python=3.14
conda activate ROOT
pip install ipykernel
conda activate ROOT
conda install -c conda-forge r-base=4.5.3
conda install -c conda-forge r-essentials